Installing and configuring Jenkins in Linux

Photo by Tiger Lily from Pexels
Jenkins is an open source automation server based on Java. It works on the top of servlet containers. Jenkins makes it easy for developers to integrate their changes by continuously testing, building, and deploying the projects easily with minimal setup required.
Jenkins builds the software in an agile and continuous manner and helps users fail fast as it discards the pipeline as soon as an error or bug is discovered and notifies the developer at an early stage.
[ You might also enjoy: What's your favorite automation tool? ]
Jenkins has a strong community with a large number of developers who are continuously working on designing plugins to achieve more from Jenkins. Such work allows the integration of various DevOps tools. Jenkins currently has 1700+ plugins available.
Why Jenkins?
- Open source tool with an involved community - Jenkins is an open source tool and available free to use. Its documentation is extensive and is extensible. The Jenkins community is also available for any kind of help.
- Easy installation - Being developed in Java, it is a platform-independent app and available for almost all operating systems. Even after installation, the Jenkins Console is easily accessible over a WebUI.
- Enormous plugin ecosystem - Jenkins has over 1700+ plugins available to extend its functionality, and more are being developed continuously. Even if you want to work with something and a plugin is not available, you can code it and share it with the community.
- Automation - Jenkins reduces the chance of errors as the complete work is automated without manual intervention. Errors caused by manual methods are decreased, and monitoring is done 24*7, which is impossible with manual intervention.
Prerequisites for installing Jenkins
| Note: These steps worked at the date of publication and may no longer be accurate. Please review the latest documentation on installing Java for your distribution of Linux. |
Java needs to be installed and configured on the server on which you want to configure Jenkins. OpenJDK is preferred with Jenkins, but you can also use any other version of Java.
# yum install java-11-openjdk-devel
If multiple Java versions are installed on your server, you can specify the default Java version using this command:
# update-alternatives --config java
Install the wget tool in your operating system to fetch the Jenkins repository:
# yum install wget
Installing Jenkins
To install Jenkins on to your operating system, follow the latest documentation provided by Jenkins. At the time of writing, you first need to configure yum by adding the Jenkins repository and then import the repository GPG key:
# wget -O /etc/yum.repos.d/jenkins.repo http://pkg.jenkins-ci.org/redhat-stable/jenkins.repo
# rpm --import https://pkg.jenkins.io/redhat-stable/jenkins.io.key
You can check the presence of the repo using this command:
# yum repolist
The following links are for the LTS version for Jenkins. You can also use the latest build.
When the repository is updated, you need to install Jenkins and start the service. Using the systemctl start command starts the Jenkins service and enabling the service will start it on bootup.
To check if the Jenkins service is running, use the command:
# systemctl status jenkins
You also need to add Jenkins service to run with firewall and add its exception so that it is available to access from the outside world. Finally, we need to reload the firewall service for the changes to take effect.
# firewall-cmd --add-port=8080/tcp --permanent
# firewall-cmd --reload
To check the firewall status and accessible ports, use the firewall-cmd command:
# firewall-cmd --list-all
Now, the Jenkins server will be running on port 8080 for our server.
Configuring Jenkins
You can configure the Jenkins service on port 8080 of your system, but Jenkins is temporarily locked with a password present in the /var/lib/jenkins/secrets/initialAdminPassword file. You can access Jenkins by providing the password after reading the file.

Remember to open the file with root user permissions as it is not accessible otherwise.
Install the suggested plugins for Jenkins. They are compatible with most versions, but if you want to do something specific, you can also select and work with the plugins you wish.

The plugins will take some time to install depending on the connectivity speed, so be patient.
Create an admin user. Make sure you remember the username and password, as they are the credentials for accessing the Jenkins WebUI.

Specify if you wish to change the port for your Jenkins. It is preferred to use Jenkins on 8080 port.
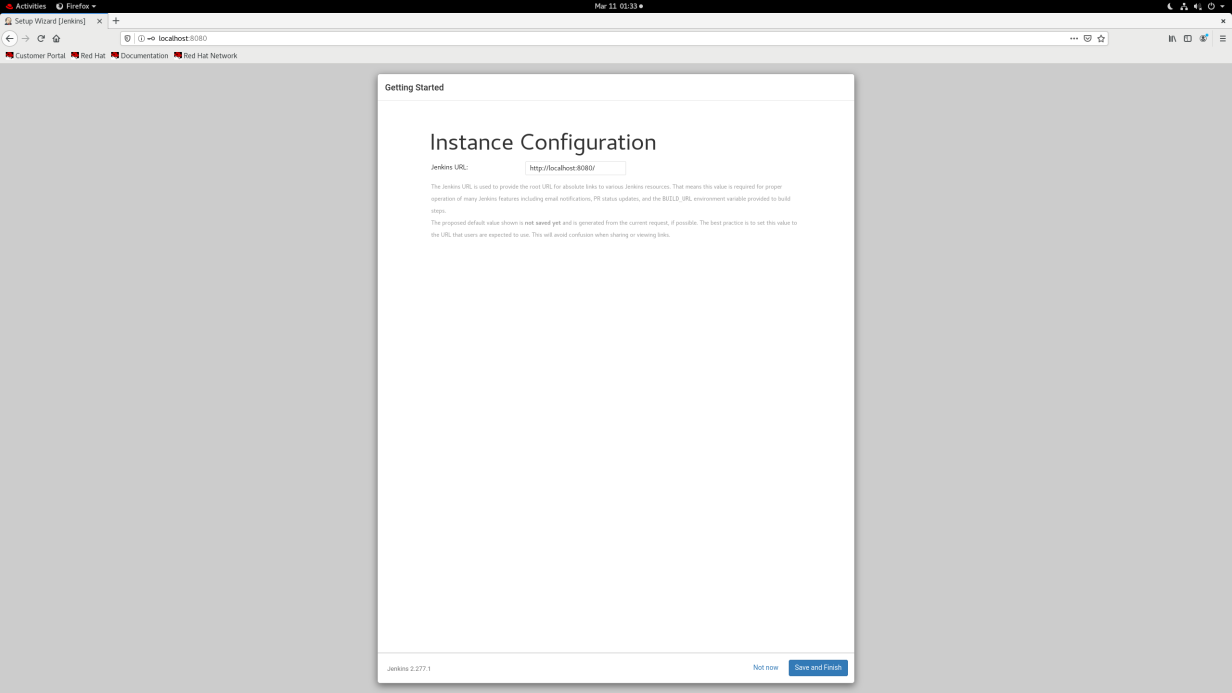
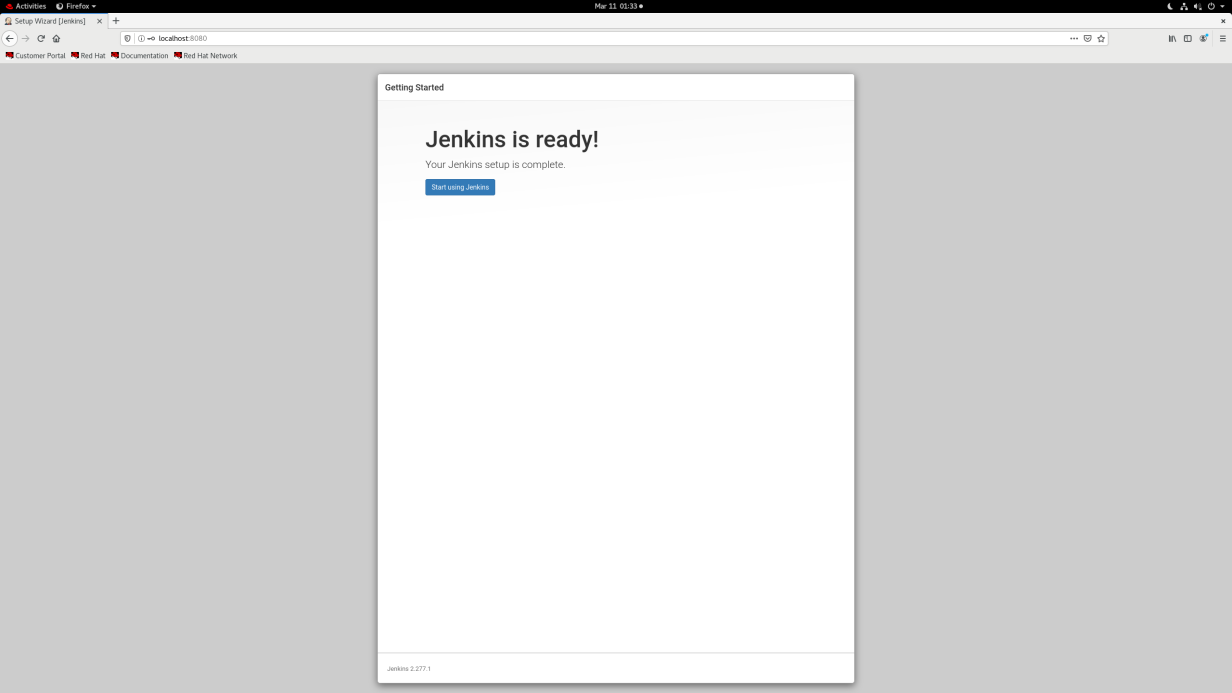
Jenkins setup is complete and it can be accessed with the URL that is configured for it.
[ Looking for more on system automation? Get started with The Automated Enterprise, a free book from Red Hat. ]
Wrapping up
In this article, you learned the basics of Jenkins and the steps for its configuration. This article covers working with the default plugins, but you can also use the different plugins for other functions. Lastly, Jenkins makes the sysadmin's job easier as it automatically triggers some of the tasks based on the defined events.


Kshitiz Saini
Kshitiz Saini is a pre-final year as a Computer Science undergraduate at the University of Petroleum and Energy Studies, Dehradun, and a tech enthusiast who seeks experience by learning to increase his knowledge along with having some fun. More about me
Try Red Hat Enterprise Linux
Download it at no charge from the Red Hat Developer program.
Related Content