I wanted to run Red Hat OpenShift on the smallest form factor I could. This article covers the hardware I selected and the general configuration steps that worked for me. You could easily do something similar and modify the steps to match your needs.
My understanding is that there are at least three OpenShift flavors to cover different on-premises use cases. The following are the hardware requirements for each one:
- OpenShift
- Cores: 8 vCPUs
- RAM: 16GB
- Storage: 120GB
- OpenShift Local
- Cores: 4 physical CPUs
- RAM: 9GB
- Storage: 35GB
- MicroShift
- Cores: 2 CPUs
- RAM: 2GB
- Storage: 10GB
Once I knew what I needed for this project, I could start building it.
[ Learn the basics of using Kubernetes in this cheat sheet. ]
Find the hardware
I didn't want to miss any OpenShift features, so I needed a machine with 8 vCPU or, in other words, a server with a 4-core processor (8 threads) to run OpenShift on a single node (SNO).
I found a refurbished ThinkCentre M910 Tiny with an Intel Core i7-6700T processor that met the requirements for about $280.

[ Learning path: Getting started with Red Hat OpenShift Service on AWS (ROSA) ]
Create an OpenShift cluster
I have installed Kubernetes the hard way many times now, so I was prepared to follow lengthy instructions. Fortunately, OpenShift has streamlined this process. Aside from a couple of caveats I'll explain, the process went smoothly, providing a good user experience.
My homelab has a Ubiquiti gateway to connect to the internet, and I use AdGuard Home for DNS.

To start the process, go to https://console.redhat.com/openshift/create and select Datacenter > Bare Metal > Interactive (installation method). If you don't have a Red Hat account, you can create one for free and run an OpenShift trial.

Next, name your cluster and select Install single-node OpenShift (SNO):

I named my cluster in and used lab.home for the base domain.
The setup provides the operators options to Install OpenShift Virtualization and Logical Volume Manager Storage. Do not select them if you only have 8 vCPUs like me, as OpenShift Virtualization adds 6 vCPU to the requirements. Logical Volume Manager Storage adds 1 vCPU.
The next step is to generate an ISO for any node you want to add. There's only one node in this case.

Click on Generate Discovery ISO, and off you go. The file size is approximately 1.1 GB.
Before booting this ISO on the server, you need to add a couple of DNS entries, as noted in the Requirements for installing OpenShift on a single node.
- Kubernetes API: api.<cluster_name>.<base_domain>
- Ingress route: *.apps.<cluster_name>.<base_domain>
- Internal API: api-int.<cluster_name>.<base_domain>
This configuration translates to the following, where 10.64.0.63 is the IP address I statically allocate via DHCP to the server:

With DNS out of the way, I can now run the generated ISO on the server.
[ Want to test your sysadmin skills? Take a skills assessment today. ]
Boot from the ISO
You need a USB stick that the server can boot from. I use Fedora Media Writer to make a USB stick bootable with an ISO file.
To tell the server to boot from the USB stick, press F12 after powering on the computer to reach the boot menu. Then select USB and let it run.

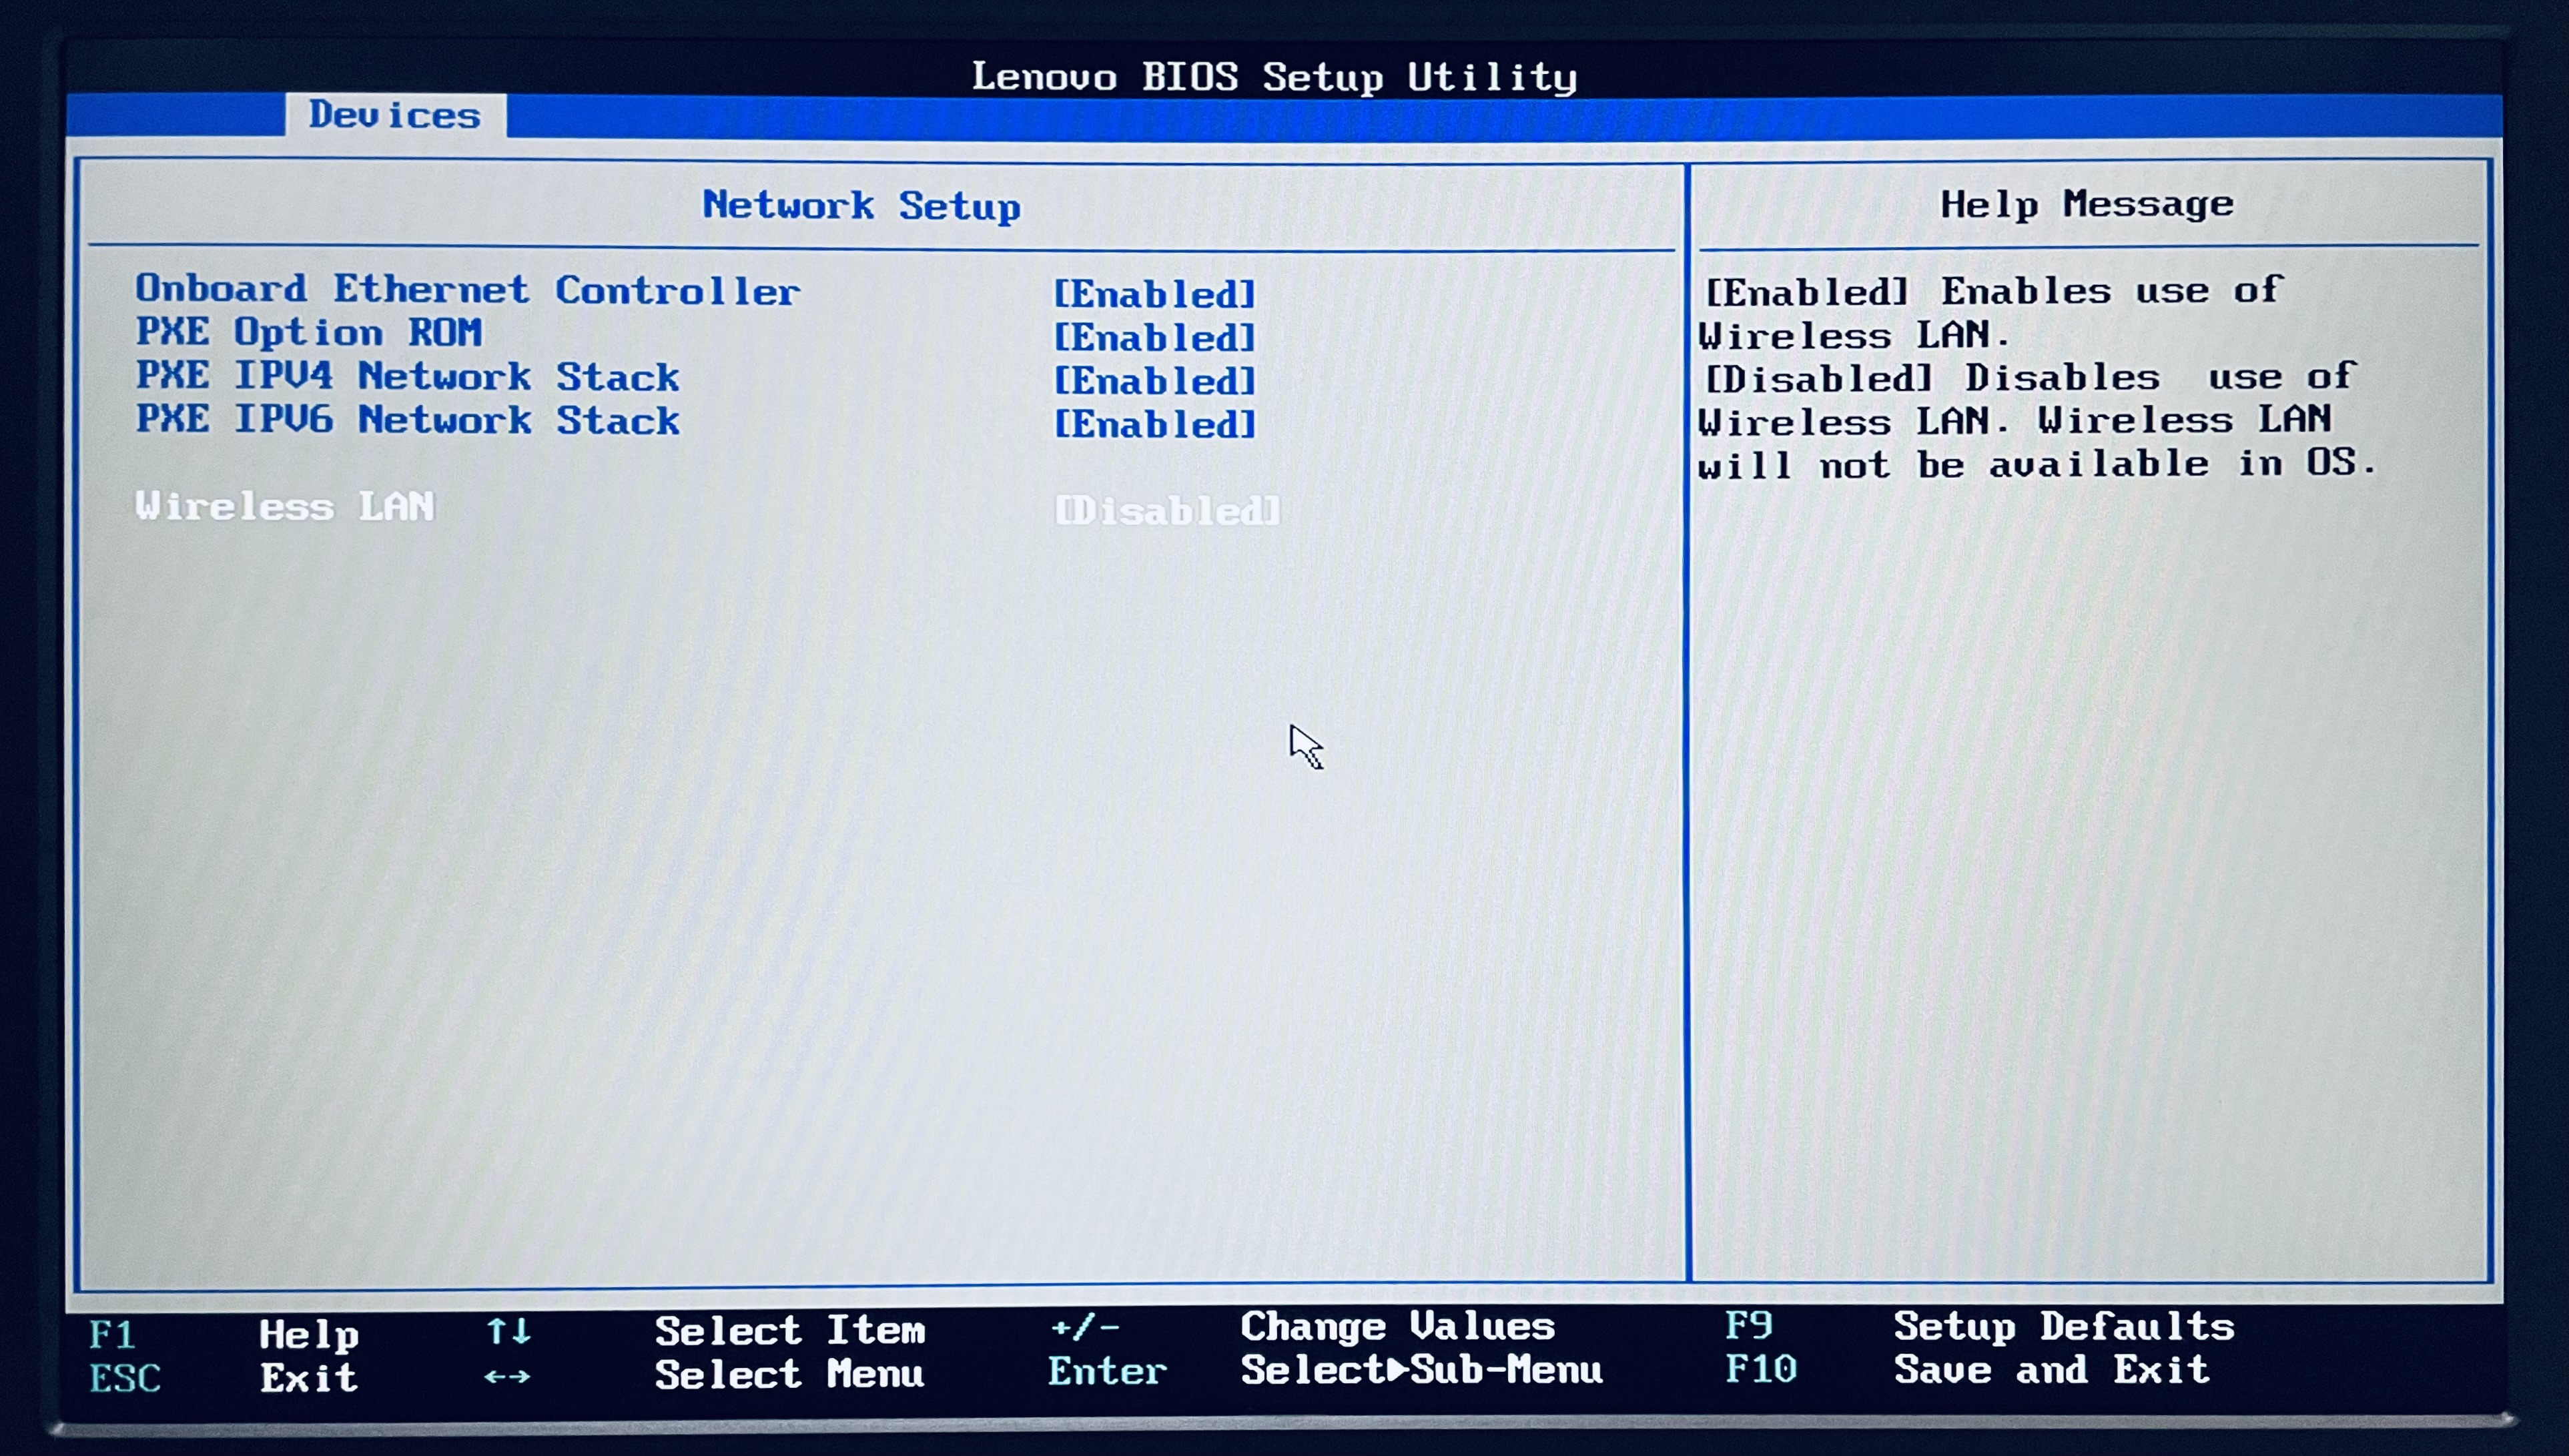
This server has WiFi, so I must disable it to avoid kernel panics. In the boot menu, I selected Enter Setup. In Network Setup, I changed Wireless LAN to Disabled. Your system may have similar considerations.
After that, you can safely boot from the USB stick. The host will eventually show up as ready to install in the assisted installer interface:

Now it's time to select the cluster's internal networks. I used the defaults (10.128.0.0/14, 172.30.0.0/16), and I picked dual-stack support to leverage IPv6 (fd01::/48, fd02::/112). It looks like this:

After this, the installer takes care of all the rest. You no longer need to look at the server screen.
If the hosts in your home network want to access any of the services you deploy in OpenShift, they will need to know how to reach the cluster's internal networks you just configured (10.128.0.0/14, 172.30.0.0/16, fd01::/48, and fd02::/112). There are ways to do this dynamically, but for this example, I can simply create static routes in the Gateway pointing to the server:

[ No-cost online course: Red Hat Enterprise Linux technical overview. ]
Install the OpenShift command-line interface (CLI)
You can check if everything is working from your computer with the OpenShift CLI. You can download this utility from the OpenShift console.
But first, from the cluster view, download your kubeconfig by clicking on the Download kubeconfig button. Copy the password to access the console (user kubeadmin).

Click the Open Console button, or go to the URL https://console-openshift-console.apps.<cluster_name>.<base_domain>. In this example, it is https://console-openshift-console.apps.in.lab.home/.
From the web console, click ? to see the link to Command line tools or go to https://console-openshift-console.apps.<cluster_name>.<base_domain>/command-line-tools.
Move the binary you downloaded to a location on your computer that is in your PATH. In this example, I used:
$ mv ~/Downloads/oc-4.12.2-linux/* ~/bin
To authenticate with the Kubernetes API, you must move the kubeconfig to ~/.kube/config:
$ mv ~/Downloads/kubeconfig ~/.kube/config
Enjoy OpenShift
At this point, you should be able to contact the cluster from your computer:
⇨ oc cluster-info

Kubernetes control plane is running at https://api.in.lab.home:6443
You can check the node's status with the oc get nodes command:
 ⇨ oc get nodes

NAME STATUS ROLES AGE VERSION

host3.lab.home Ready control-plane,master,worker 152m

v1.25.4+a34b9e9
For more commands, check the CLI reference.
Wrap up
The installation process has come a long way. In my next article, I'll show how to scale Ansible Automation Platform with OpenShift.
[ Learn about upcoming webinars, in-person events, and more opportunities to increase your knowledge at Red Hat events. ]
Thanks to Chris Keller and Juan Jose Floristan for their support in setting up my single-node cluster. I would still be banging my head against the wall if it wasn't for them.
About the author

More like this
Red Hat Learning Subscription Course reimagines virtual training
Simplify Red Hat Enterprise Linux provisioning in image builder with new Red Hat Lightspeed security and management integrations
How Do We Mentor the Next Generation of IT Leaders? | Compiler
Kubernetes and the quest for a control plane | Technically Speaking
Browse by channel

Automation
The latest on IT automation for tech, teams, and environments

Artificial intelligence
Updates on the platforms that free customers to run AI workloads anywhere

Open hybrid cloud
Explore how we build a more flexible future with hybrid cloud

Security
The latest on how we reduce risks across environments and technologies

Edge computing
Updates on the platforms that simplify operations at the edge

Infrastructure
The latest on the world’s leading enterprise Linux platform

Applications
Inside our solutions to the toughest application challenges
Virtualization
The future of enterprise virtualization for your workloads on-premise or across clouds