Decyphering the OSI model of networking: 7 layers of bean dip

At this time of year, many sysadmins think about holidays, football games, and party food. Food is the defining factor in the success of a good holiday or sports gathering. The best parties have a little something for everyone and a few items that everyone likes, but there are things you have to have, like ice for drinks. And desserts. And chips. And dip. The best parties have the ultimate snack: seven-layer bean dip (7LBD). What makes 7LBD special is that each layer is in the right order and in the right quantity.
Speaking of which, we can say the same thing about understanding and troubleshooting network issues. (See what I did there?) In 1984, the International Standards Organization (ISO) published the document Open Systems Interconnection Reference Model, which is commonly referred to as the OSI model today. The idea was to address the increasing need for a set of network communication standards that could be used to engineer the interoperability of the rapidly evolving technologies in use for connecting computers.
The OSI model consists of seven layers and two sets of standards: One describing what each layer refers to, and another establishing an existing set of protocols for each layer. As a system administrator, even if you don’t work directly with your infrastructure's networking components, you probably use this model all the time—even if you don’t know it. So, you will be better at your job if you know and understand how this model works, and how to apply it to troubleshooting.
So, what’s the recipe?
When I first learned about the OSI model, I had to learn the names by memorizing them:
- Physical
- Data
- Network
- Transport
- Session
- Presentation
- Application
I think I wrote the name of each layer on my fingers and made cool charts. Since then, I’ve used the information enough that it’s no longer a struggle to remember where to look next. Just like the world’s greatest snack tray, I just know the model, and that makes me much more successful.
Let’s go through each layer.
Layer 1: Physical
In any troubleshooting, the most important principle is to start simple and low. Is it plugged in? Is the link light green? I always think of Layer 1 as the hardware layer. Here, we think about electrons getting where they need to be and in the right order.
This layer of the OSI model refers to things like signaling and voltage. The associated protocols would be Ethernet and newer technologies like Bluetooth. When we work with network topologies, we are looking at the physical layer: How the bits move from one location to another.
To be clear, this layer is not cables and network cards. It’s the stuff that makes them useful. When troubleshooting if you can access a webpage, you need to know that this layer provides a path between the user and the server.
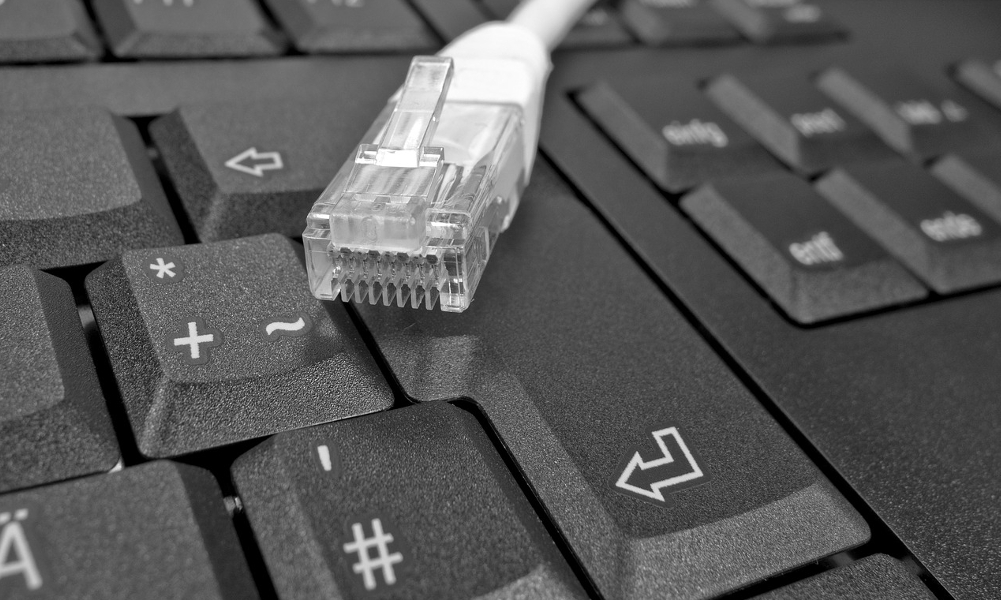
Layer 2: Data
The data (or data link) layer is where the bits from the physical layer get organized into something useful, but still somewhat primitive. This is where these bits start to become useful as information. We don't think about what’s getting transferred so much as we do about how. This layer is where flow control and error correction happens, and also where devices can communicate with one another usefully.
Layer 2 is divided into two sublayers. The first is the medium access control (MAC) layer, which involves hardware addressing and access control. The second is the logical link layer, which provides the ability to create a logical connection between media.
A network hub (which is rare now, but they used to be more common due to their simplicity) or the switch used in many offices for easy local networking, is what we call a Layer 2 device. It simply creates a connection and forwards all of the data it has to all of the physical connections it’s associated with. When we troubleshoot this layer, we connect to a network and determine if that network is the right collection of devices from here to there.
Layer 3: Network
Now we've reached the first really interesting stuff. The network layer is where actual communication takes place between two devices. This layer is where we create packets and addresses, and have at least some control over the bits.
In this layer, we define how much data we can move at a time, what’s in each chunk of data, and where that data goes. It’s where we create the envelope. The protocol associated with this layer is the Internet Protocol (IP). Most modern commercial enterprise network equipment operates on this layer. A router, or "layer 3 switch," is the hardware that does this work. We test this layer by checking that we have an address on the network we are connected to, and that we can see the address of the device we are trying to connect to.
The ping command is a network layer utility.
Layer 4: Transport
If Layer 3 is the envelope, then Layer 4 is the postal service. In this layer, we do things like segmentation and reliability management. The protocols associated with Layer 4 are TCP and UDP. We can say: "Do this when you receive this packet." We can even keep track of what other chunks of data (packets) are supposed to be with this one and specify what to do if they haven’t arrived, or aren’t in the right order.
In this layer, we can prove that we see the target device and that we should be able to communicate, but we are concerned now with being able to connect. A good test here is to use telnet or netcat to see if the server is "listening" and responding to requests for a connection and if we can get an actual response.
Layer 5: Session
At this point, we have arrived at the target host. The session layer is where connections are defined and managed. It's where we manage the dialog between devices or applications. Layer 5 the first handoff of our data from the operating system to a process or application on the local device, or in the host. Here, we can start or end a connection, or make Remote Procedure Calls (RPCs) between applications on different hosts, with actions such as mounting a filesystem.
In Layer 5, we might try another application if we can’t get a webpage. Both FTP and SSH are useful here if they are available. Note that we still look only at what we have from the previous layers, so in Layer 5 we have an IP address rather than a website name (more on this in the application layer). Here, we often look at whether we have permission to connect or have access to a filesystem or application.
Layer 6: Presentation
By Layer 6, we have officially handed off of the data we received in Layer 2, recognized in Layer 3, reassembled and made sense of in Layer 4, and distributed to the right place on the host in Layer 5. In the presentation layer, we present data to be interpreted as code, or instructions. We are no longer simply moving bits, we are using them for something at the destination.
This layer is where we can do things like encryption (SSL). This layer is also where we can see XML and HTML code being presented for translation by a web browser. The bits are in the right order, we are talking to the web browser, and we need to make sure the browser can understand and use what we sent. Our troubleshooting deals with things like certificates.
Layer 7: Application
This is it, the end of the line. We now have data that traversed the network and successfully made it all the way up the stack to an actual program or application to do the job we sent it to do. Our little team of packets is making something happen.
In the case of a webpage request, the HTML gets rendered into a page, possibly like the one you are looking at now. By this point, we look at what the target application (i.e., a web browser) is doing. DNS, which is used to translate a webpage's name into an IP address, is an application layer protocol—it’s an application that translates instructions.
In this layer, we can check that when we ask for an address, we can see the webpage or application we expect to see. We look at the application’s configuration and at the compatibility of the software versions being used.
Wrapping up
So, there you have it: The recipe for network troubleshooting. Hopefully, you can use this recipe to make your network a successful gathering and keep all of your infrastructure guests happy.
(My award-winning bean dip, on the other hand, is a secret. You’ll have to find your own recipe for that.)
Want more on networking topics? Check out the Linux networking cheat sheet.

Glen Newell
Glen Newell has been solving problems with technology for 20 years. As a Systems Engineer and administrator, he’s built and managed servers for Web Services, Healthcare, Finance, Education, and a wide variety of enterprise applications. More about me
Try Red Hat Enterprise Linux
Download it at no charge from the Red Hat Developer program.
Related Content