cert-manager builds on top of Kubernetes, introducing certificate authorities and certificates as first-class resource types in the Kubernetes API. This feature makes it possible to provide Certificates as a Service to developers working within your Kubernetes cluster.
cert-manager is an open source project based on Apache License 2.0 provided by Jetstack. Since cert-manager is an open source application, it has its own GitHub page.
This guide will show you how you can install cert-manager in Red Hat OpenShift with an Operator. After that, you will issue a self-signed certificate through the installed cert-manager. You can also follow this tutorial by watching this video.
[ You might also like: Making CA certificates available to Linux command-line tools ]
STEP 1: Read cert-manager's documentation
The project's website provides abundant information about cert-manager, including an overview, architecture, and usage guides.

If you explore its documentation, you can discover detailed documentation covering concepts, installation, configuration, usage, tutorials, FAQ, and so on. On the welcome page, you see a high-level architecture diagram of cert-manager.

From its GitHub repos, you also find additional documentation or contribute to the project.

You can install cert-manager for either a vanilla Kubernetes environment or OpenShift. In this tutorial, I'll install cert-manager on OpenShift.
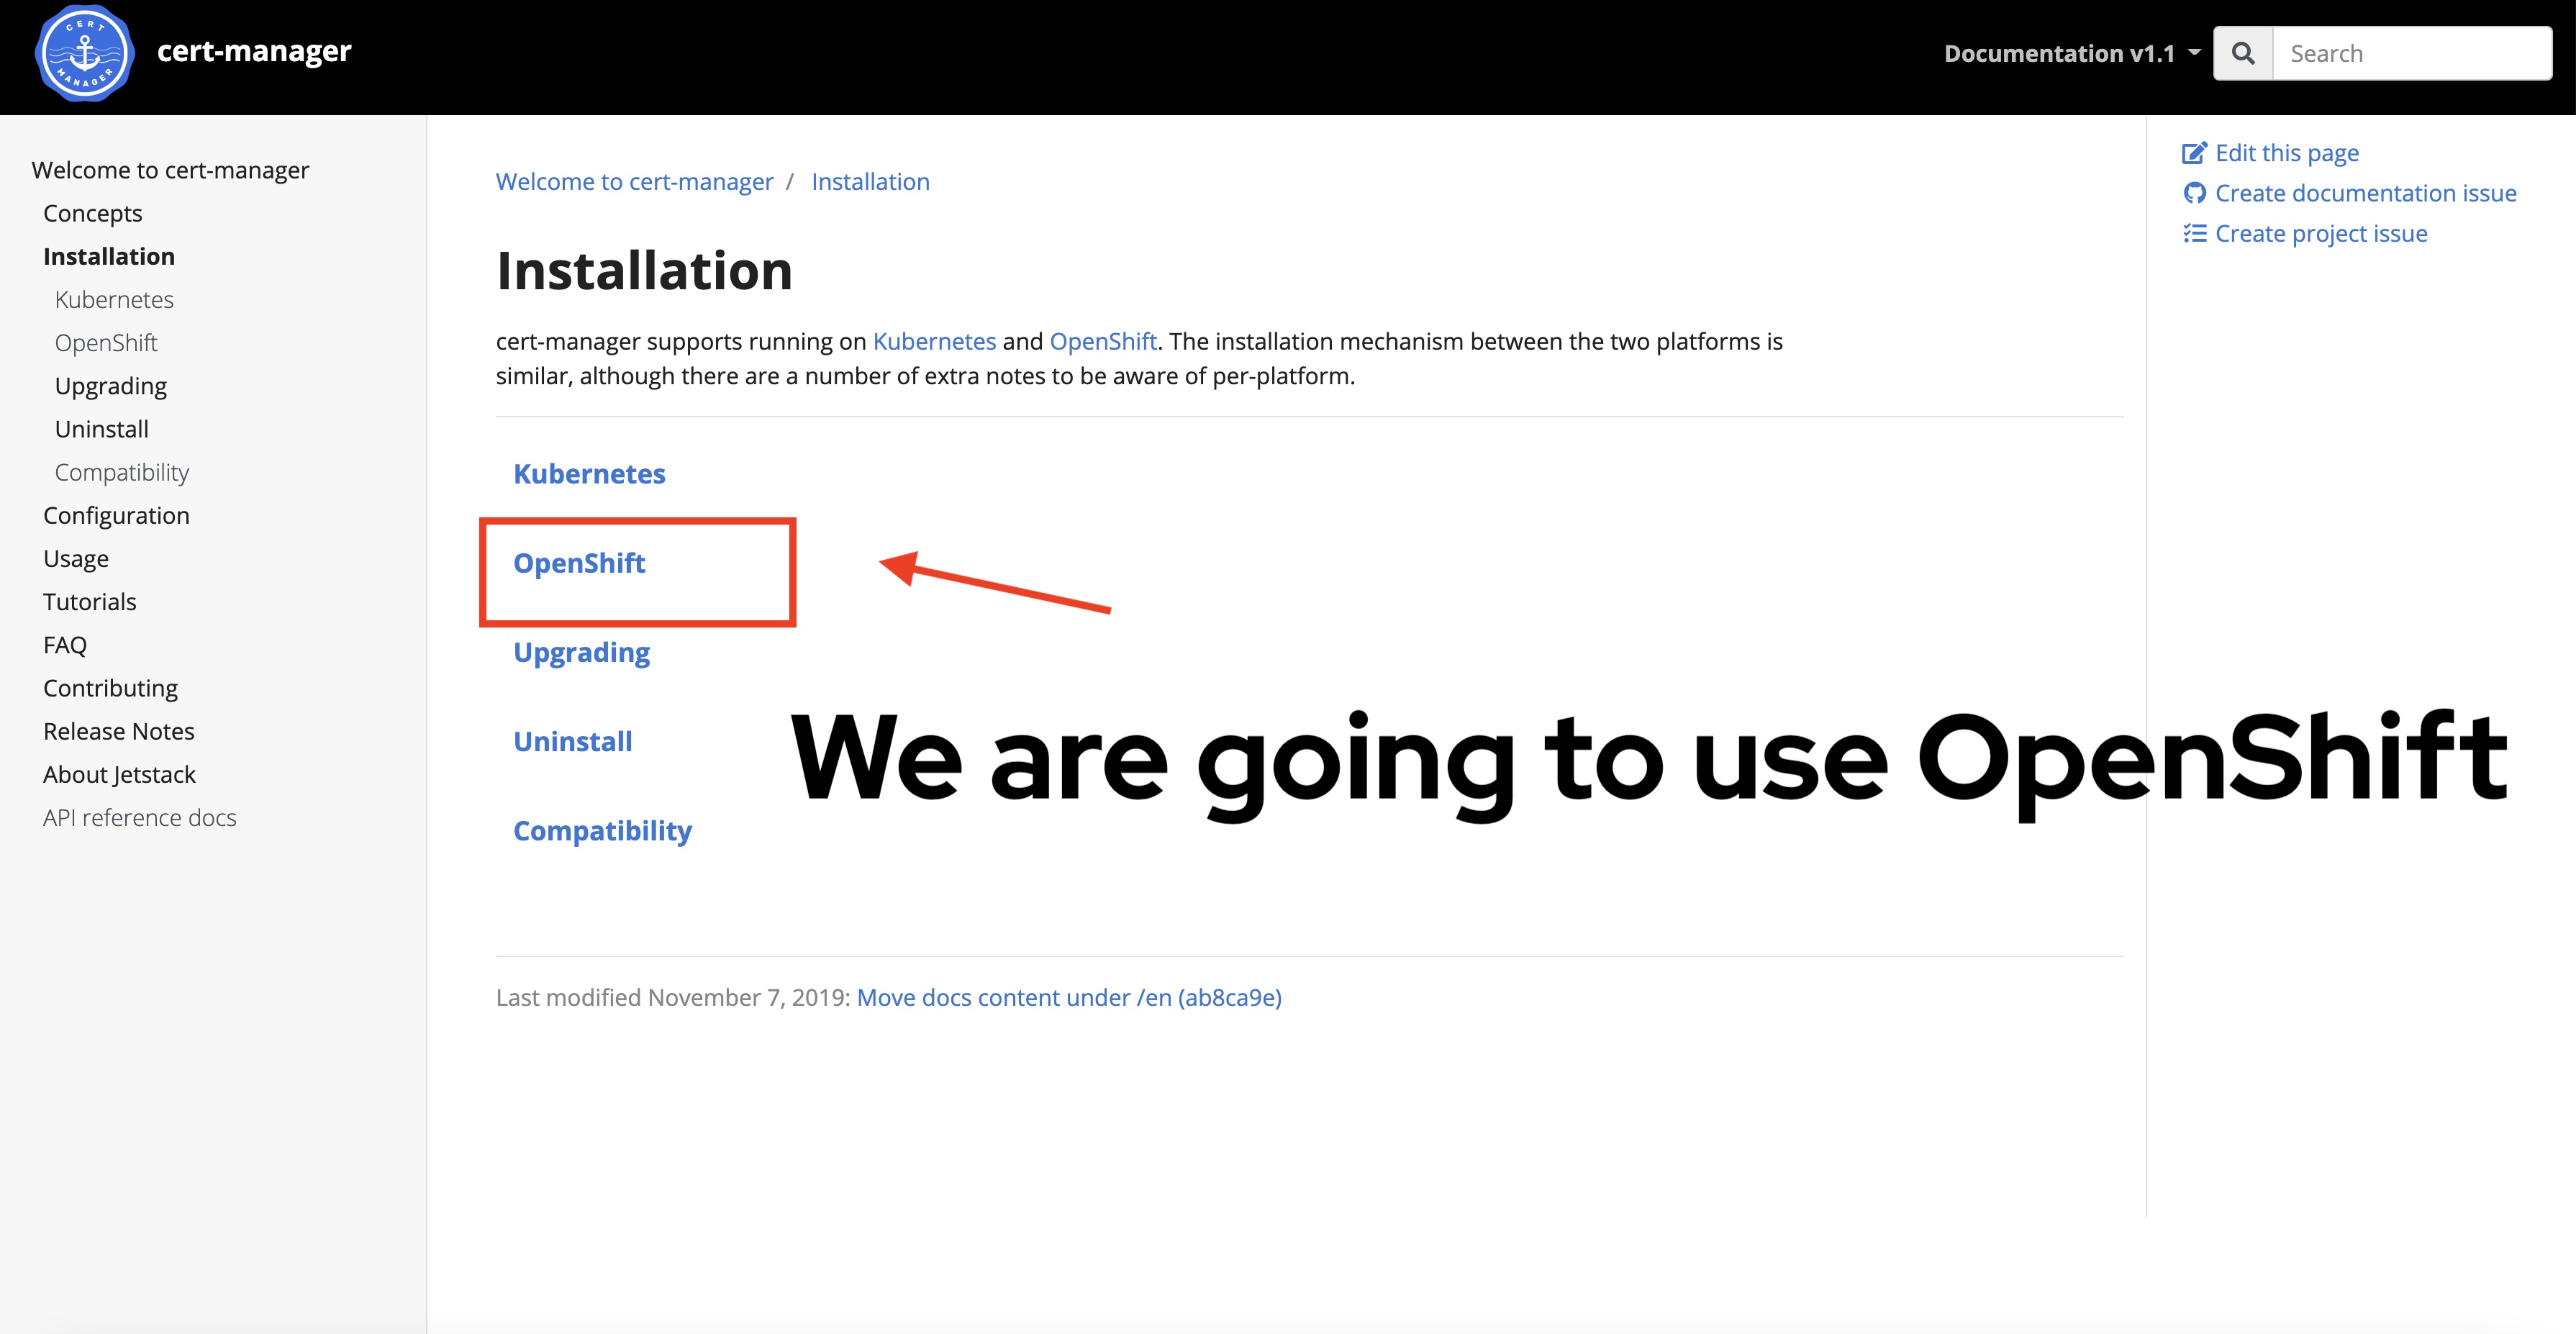
The OpenShift installation documentation provides two different options: A regular manifests file or the cert-manager Operator available in the OpenShift web console interface. I'll install via Operator.

Since cert-manager works by a supported Issuer acting as a signing authority to assign application certificates, you have to decide which Issuer to use. This decision typically depends on your Domain Name Service (DNS) provider. For example, if you use Microsoft Azure to host your application, you need to select ACME and find the proper instructions for AzureDNS. Another popular choice is Let's Encrypt. In this case, though, you want to choose the simplest possible Issuer. Thus, I'll go with SelfSigned Issuer.

Documentation about Issuer is shown below. Issuer or ClusterIssuer is a Custom Resource Definition (CRD) that can be applied to configure the type of Issuer. What separates the type of Issuer comes after spec. In that section, specify selfSigned under spec. In this example, I'll use ClusterIssuer instead of Issuer because I want a single Issuer to manage all namespaces' certificates.

Once the Issuer is chosen and configured, I'll issue a certificate for a particular app. For this step, create a Certificate resource that is defined in a YAML file.

STEP 2: Explore a sample ClusterIssuer file and a sample Certificate file
There are two sample files used in this tutorial. The first sample file defines ClusterIssuer, which uses self-signed certificates to manage certificates for all namespaces. Under spec, just add a line that says selfSigned: {}.

apiVersion: cert-manager.io/v1alpha3
kind: ClusterIssuer
metadata:
  name: selfsigned-issuer
spec:
  selfSigned: {}
Next, look at the sample Certificate definition.

apiVersion: cert-manager.io/v1alpha2
kind: Certificate
metadata:
  name: <certificate name>
spec:
  secretName: <secret name to store>
  duration: 2160h0m0s # 90d
  renewBefore: 360h0m0s # 15d
  organization:
  - "<your organization>"
  keySize: 2048
  keyAlgorithm: rsa
  keyEncoding: pkcs1
  usages:
    - server auth
    - client auth
  # At least one of a DNS Name, URI, or IP address is required.
  dnsNames:
  - '<hostname>.<cluster-url>'
  issuerRef:
    name: selfsigned-issuer
    kind: ClusterIssuer
The Certificate file is a little more complicated, and you need to make quite a few changes. Note that the Certificate value is assigned per an application that exposes Route, so you need to have an application that requires a TLS/SSL certificate. Here are a few changes that you need to make:
- Line 4 - metadata.name: You need to give some name for this certificate.
- Line 6 - spec.secretName: Our certificate will be stored in an OpenShift secret, so you need a name for this.
- Line 9 - spec.organization: You need to give the name of your organization.
- Line 19- spec.dnsNames: Probably one of the most important settings, this should match your OpenShift Route for your app.
You can also modify other fields as you see fit. Be sure to refer to cert-manager's official documentation to adjust settings based on your organization's requirements and setup.
STEP 3: Install cert-manager through Operator in OpenShift
You're ready to deploy the cert-manager. Here are the OpenShift web console and a nice graphical interface from a web console to install cert-manager with an Operator. To make this change, you need to have cluster-admin privileges.

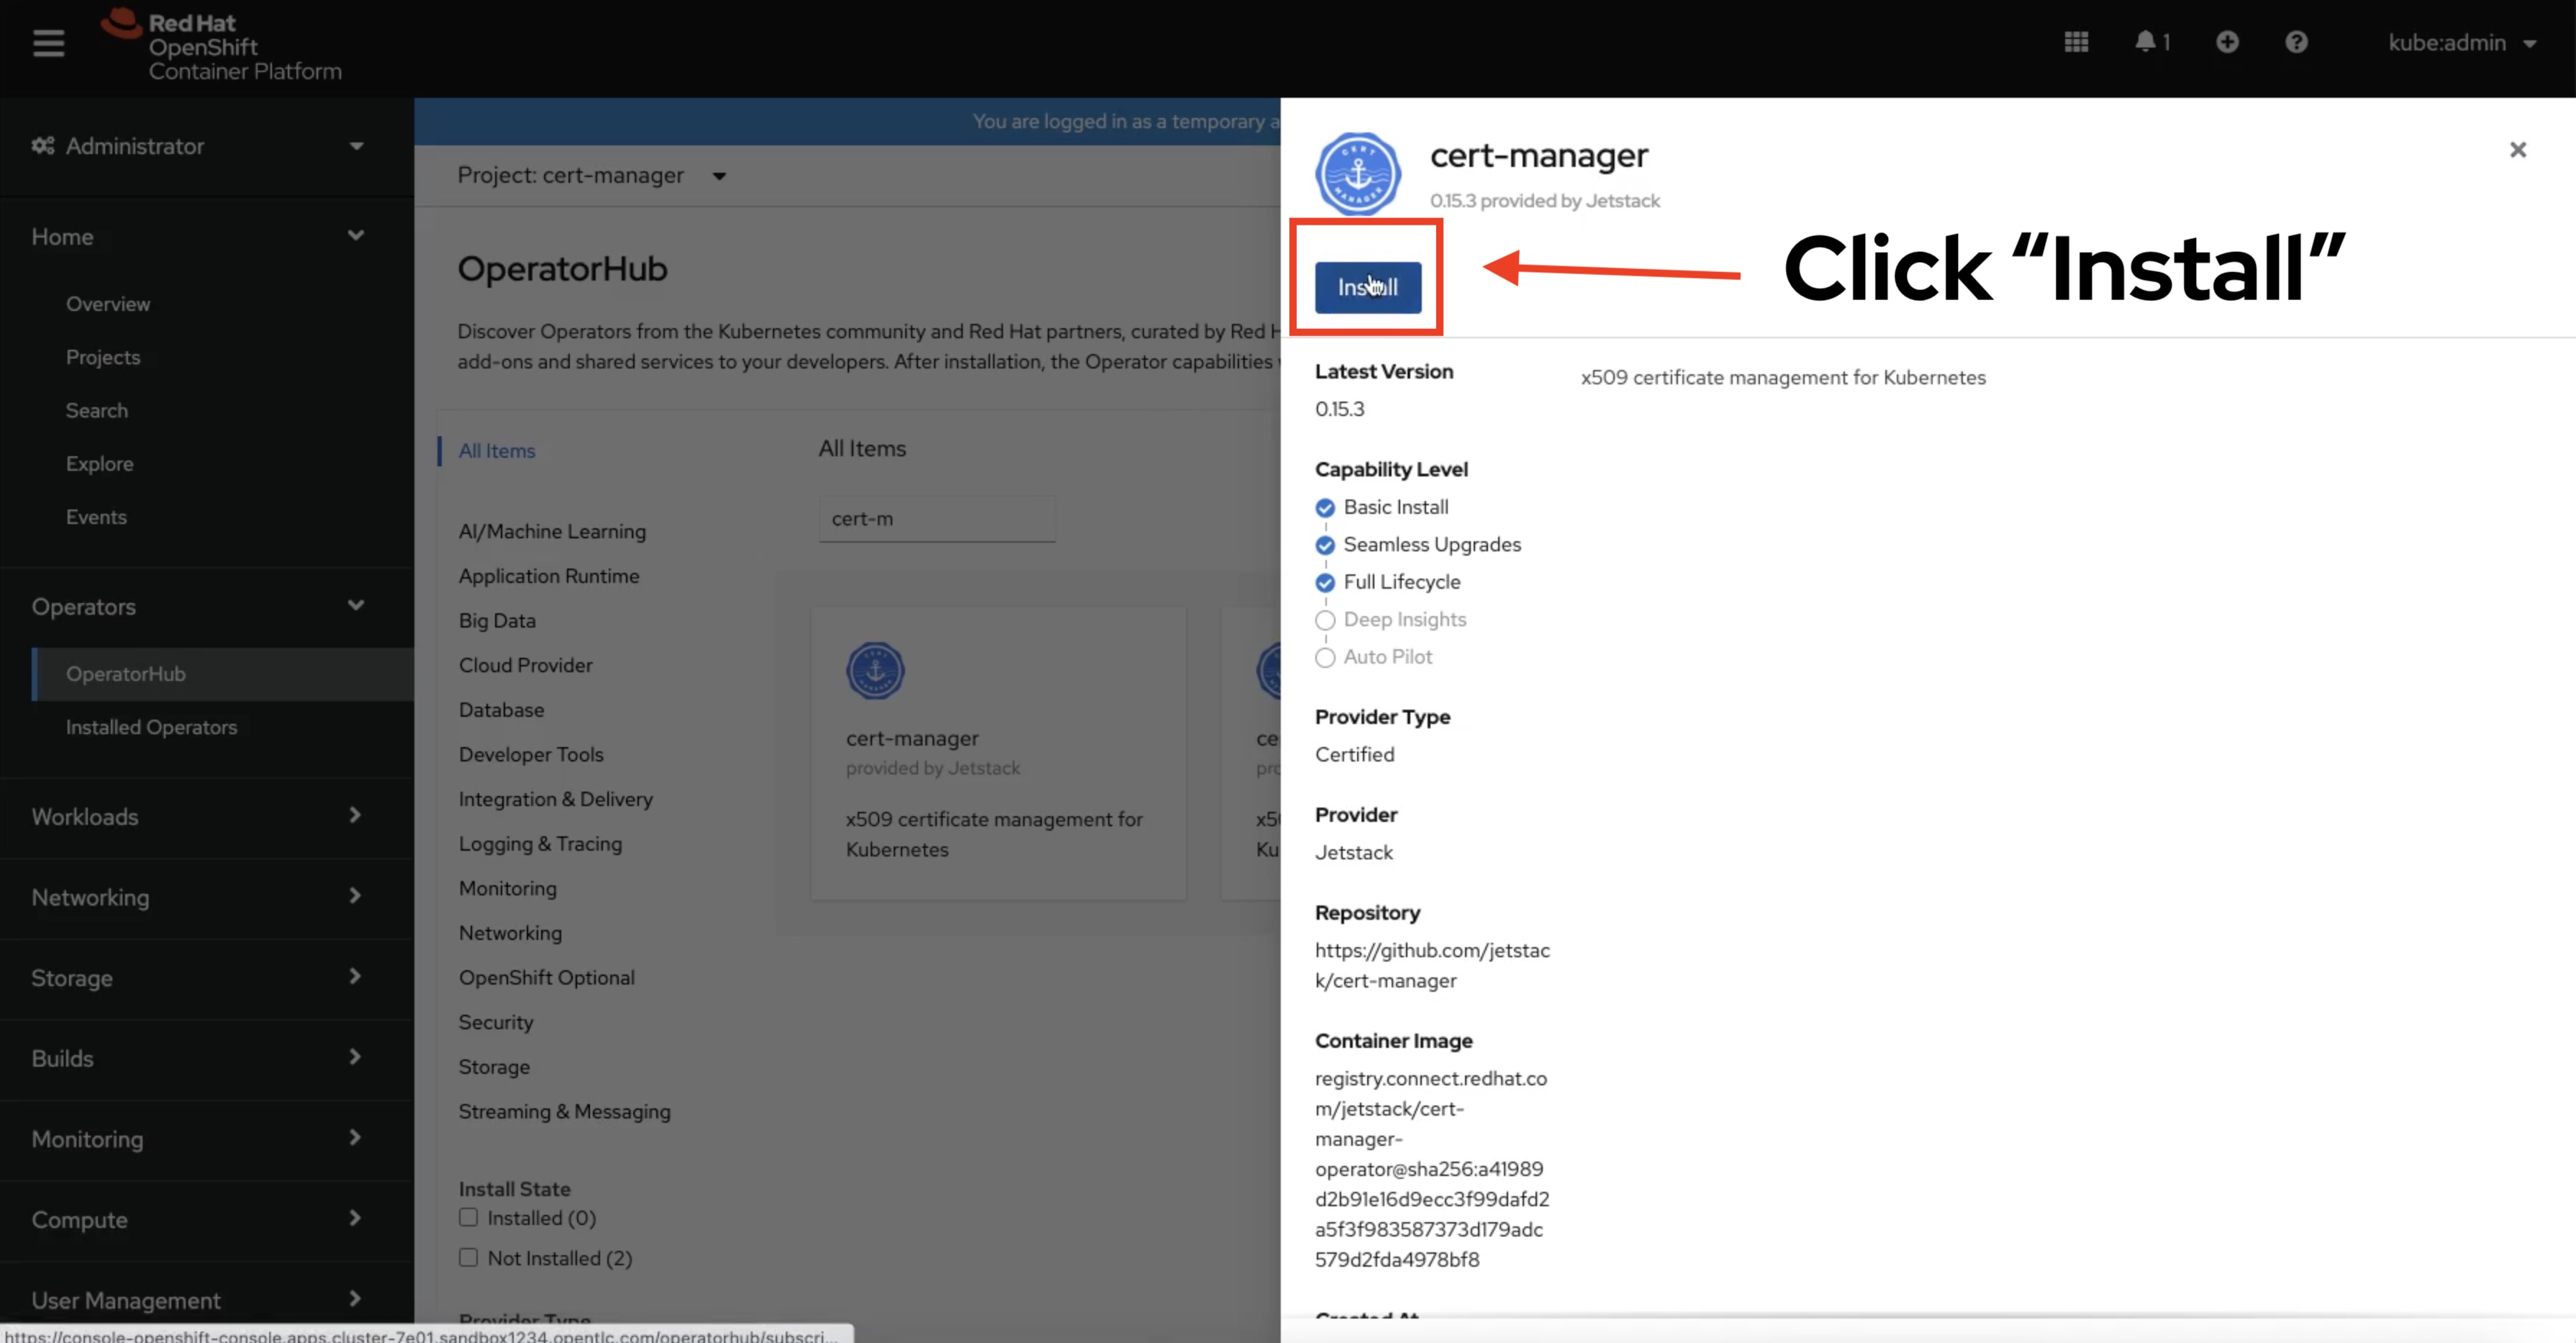
Click OperatorHub under Operators. If you don't see the option, you're most likely not a cluster-admin. When the OperatorHub comes up, search for cert-manager. Notice that there are a few cert-managers, but select the one with the community version.

A blade-style window is displayed. Read some basic instructions and click Install when you're ready.
By default, your cert-manager will be installed on the openshift-operators namespace. As of right now, that's a default option, and the web interface does not let you change it. Leave everything as it is, and click Install.

This will start the cert-manager Operator's installation process. If everything goes well, your cert-manager Operator should be installed.

After cert-manager Operator's installation, click the CertManager tab under the cert-manager's Operator.

Operator is just a life-cycle manager for different installation and management processes for your app. To actually install cert-manager, you need to create a CertManagers instance. Review the configuration, including the YAML file view. If everything looks good, click the Create button.

This step installs a new instance of CertManager. Once everything looks good, you'll see a new cert-manager displayed under the CertManagers tab.

Be sure to click Pods and monitor the progress to make sure everything goes smoothly. You're finally ready for the steps to install a ClusterIssuer and then to generate a certificate.

STEP 4: Generate ClusterIssuer that can issue a certificate
Open up a terminal window and log into the OpenShift cluster. Remember the ClusterIssuer file that you created? Navigate to the directory where the file resides, and type the following command.
oc apply -f <name of ClusterIssuer file>If everything goes fine, you'll see a message saying the self-signed issuer has been created.

You can go back to your cert-manager's Pods and click one of them to see that the self-signed issuer is now installed.

Another way to check is from a terminal window with the following command.
# First run this command to see our Issuers:
oc get clusterissuers

# Next, run this command to see the structure of the Issuer
oc get - yaml clusterissuers/<an Issuer name from above>
You should see some printed details about this particular Issuer.

You're finished with installing an Issuer. You can finally proceed to generate a sample certificate for an app.
STEP 5: Issue a certificate in a namespace
The only thing you need to do is apply your Certificate file for an app. Make sure you're logged in to your OpenShift cluster and then switch to your project. I will generate a certificate for Quay, because I'm using a namespace called quay-enterprise, but this can be anything that you want to call it for your application. Once you're in a project, type in the following command:
oc apply -f <a Certificate definition file>You should see a message that the certificate is created. You can verify that the certificate is indeed there with this command:
oc get certificate
Return to OpenShift's web console, click your project, and click Secrets under Workloads to discover your new TLS/SSL certificate created for your application.

Wrap up
This article helps you understand how to install cert-manager on Red Hat OpenShift through its Operator and generate a self-signed certificate for your application.
[ Need more on Ansible? Take a free technical overview course from Red Hat. Ansible Essentials: Simplicity in Automation Technical Overview. ]
About the author

Bryant Jimin Son is a Consultant at Red Hat, a technology company known for its Linux server and opensource contributions. At work, he is working on building the technology for clients leveraging the Red Hat technology stacks like BPM, PAM, Openshift, Ansible, and full stack development using Java, Spring Framework, AngularJS, Material design. Prior to joining Red Hat, Bryant was at Citi Group's Citi Cloud team, building the private Infrastructure as a Service (IaaS) cloud platform serving 8,000+ teams across Citi departments. He also worked at American Airlines, IBM, and Home Depot Austin Technology Center. Bryant graduated with Bachelor of Sciences in Computer Science and Aerospace Engineering with minor concentration in Business at University of Texas at Austin.
He is also the President and Founder of Korean American IT Association group, known as KAITA (www.kaita.org). He is an avid coder spending extra time on building side projects at cafes, and he travels every week on business. He also loves to work out daily and to grow KAITA.
Browse by channel

Automation
The latest on IT automation for tech, teams, and environments

Artificial intelligence
Updates on the platforms that free customers to run AI workloads anywhere

Open hybrid cloud
Explore how we build a more flexible future with hybrid cloud

Security
The latest on how we reduce risks across environments and technologies

Edge computing
Updates on the platforms that simplify operations at the edge

Infrastructure
The latest on the world’s leading enterprise Linux platform

Applications
Inside our solutions to the toughest application challenges

Original shows
Entertaining stories from the makers and leaders in enterprise tech