
This post was written in collaboration with Carlos Salinas Gancedo, Cloud Product Manager at Mendix, and Amir Zipory, EMEA ISV Partner Ecosystem at Red Hat.
As a formal Red Hat Partner within the OpenShift ecosystem, Mendix has as of last month been officially certified by Red Hat. This is a pledge to Red Hat and Mendix’s joint collaboration and ongoing innovation in multi-cloud capabilities, cloud-native architecture, and speaks to Mendix’s positioning as a cutting-edge leader in the low-code landscape.
Mendix applications run on the platform’s cloud-native stateless runtime architecture that conforms to Twelve-Factor App principles with support for modern cloud platforms such as Docker, Kubernetes and Cloud Foundry. Subsequently Mendix apps benefit from auto-scaling, auto-provisioning, auto-healing, low infrastructure overhead, CI/CD, and cloud interoperability out of the box. Mendix can be deployed across a suite of various options, including public cloud, virtual private cloud, private cloud, hybrid cloud, multi cloud, and traditional (virtual) servers.
Running and Deploying Mendix on Red Hat OpenShift
Mendix applications are packaged and deployed to Red Hat OpenShift via one-click deployment. This feature automatically builds the appropriate deployment package, including all the necessary assets required before deploying it to the staging area. Mendix also supports the creation of build packs for deployment on premises and infrastructure-as-a-service (IaaS).
Connected and Standalone Clusters
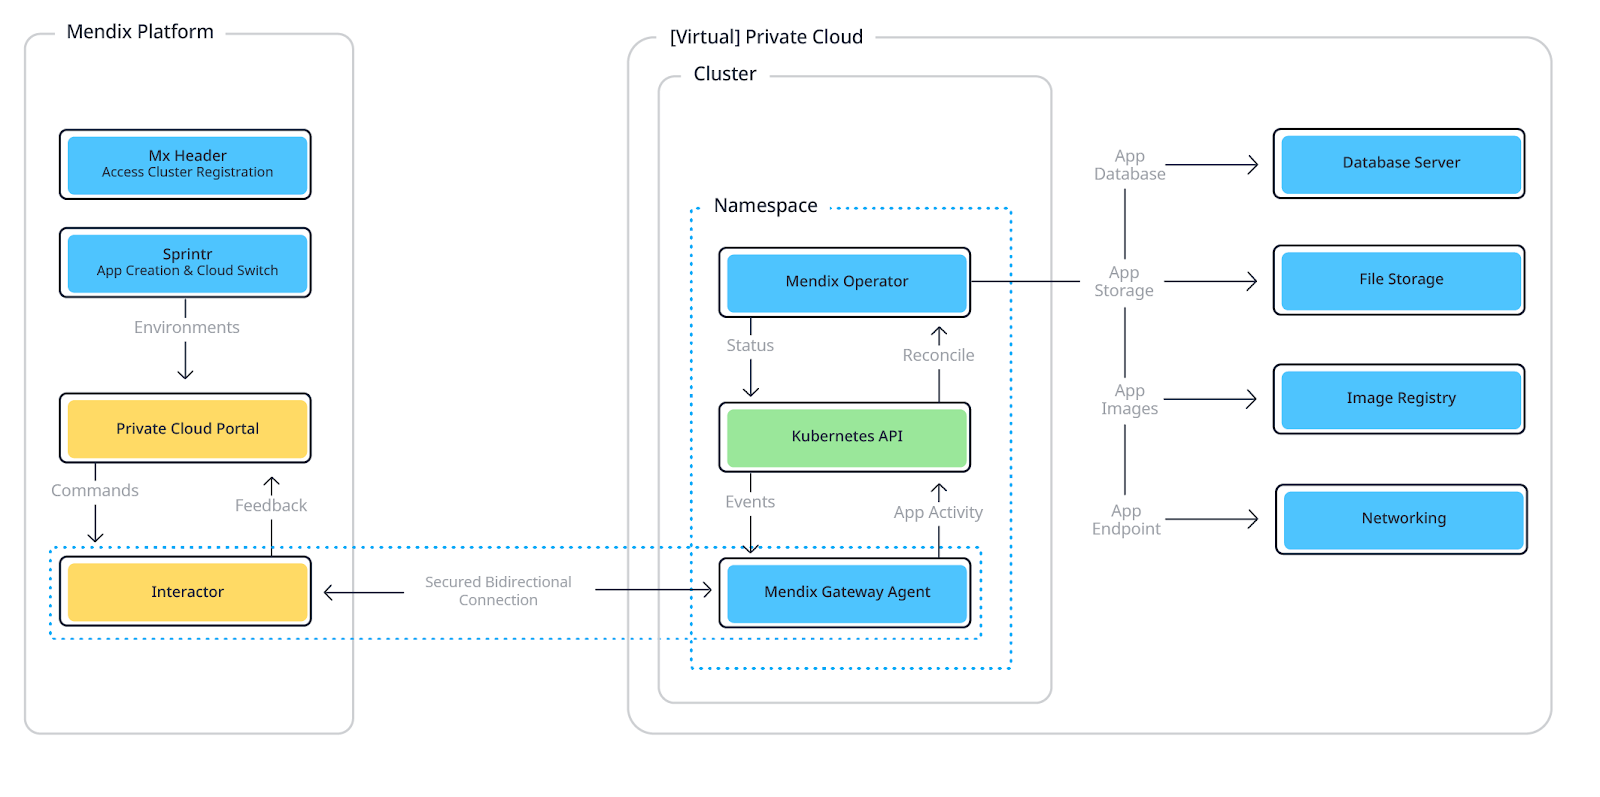
To deploy apps to your private cloud cluster and allow you to manage the deployment of your apps to Red Hat OpenShift and Kubernetes, you will first need to register a cluster in the Mendix Developer Portal. This creates a link between the Mendix Developer Portal and the cluster. This will provide you with the information you need to deploy the Mendix Operator in your cluster. If you have chosen a connected cluster, the Mendix Gateway Agent will also be deployed. Once the Mendix Operator is deployed to your cluster, you can use it to configure the resources which will be used by your apps.
You then have two options, depending on whether you have chosen to create a connected cluster or a standalone cluster.
Connected Clusters
If you have chosen to register a connected cluster, the Mendix Gateway Agent will create a link to the Environments pages of your Mendix app through the Interactor. This is a secure bi-directional communication channel which is initiated from the Mendix Gateway Agent running on the cluster.
Using this channel, any Mendix user who has been given the correct authority can pass instructions to the Mendix Operator and receive status information about the cluster. This includes instructions needed to deploy an app, or to configure the environment.
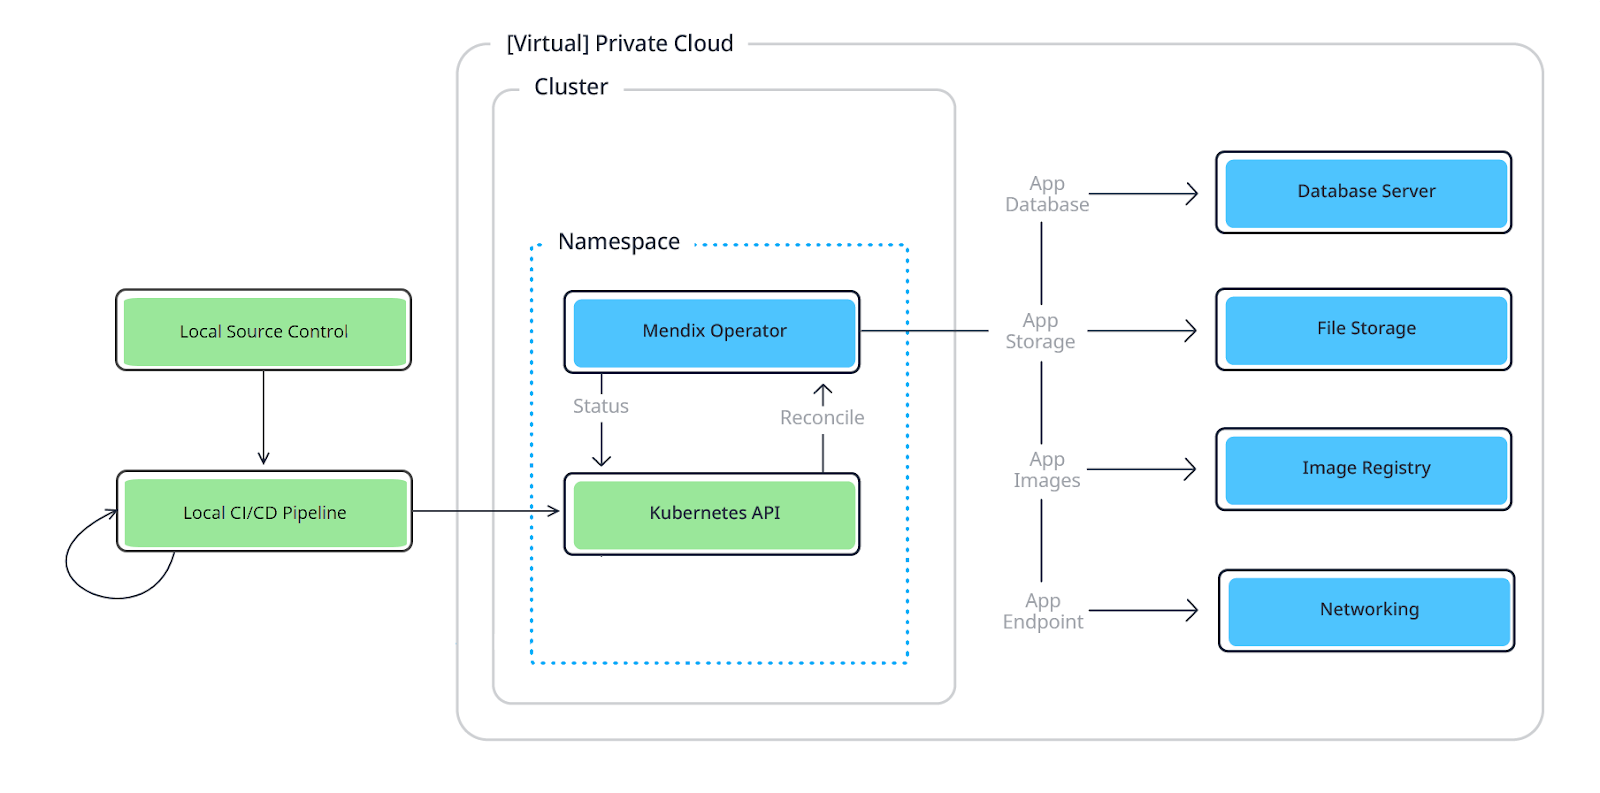
Standalone Clusters
If you have chosen to register a standalone cluster, then all communication with the Mendix Operator will be through instructions which are made directly through the Kubernetes API. These can be made manually, but are generally performed by your CI/CD pipeline. In this case, you will also have to have local source control of the Mendix app deployment packages to be surethat the deployment process can discover them.
Prerequisites for Creating a Cluster
To create a cluster in your OpenShift environment, you will need the following:
- A Kubernetes platform with a version from 1.13 through 1.20, or OpenShift version 3.11 or above (version 4.4 and above is recommended)
- An administration account for your OpenShift or Kubernetes platform
- OpenShift CLI installed (see Getting started with the CLI) if you are creating clusters on OpenShift
- Kubectl installed if you are deploying to another Kubernetes platform (Install and Set Up kubectl)
- A command line terminal that supports the console API and mouse interactions. In Windows, this could be PowerShell or the Windows Command Prompt. See Terminal limitations for a more detailed explanation.
Connected Environments
Should you consider using a connected environment, the following URLs will need to be safelisted in your cluster’s operating system, as these URLs point to services or resources required by the Connected Environments' infrastructure.
|
URL |
Description |
|
Websocket based main communication API |
|
|
Registry for downloading MDA artifacts |
|
|
Docker registry for downloading Runtime base images |
|
|
Service to verify call-home license |
Creating a Cluster and Namespace
Creating a Cluster
- Click Cloud Settings on the General Settings page of your Mendix app.
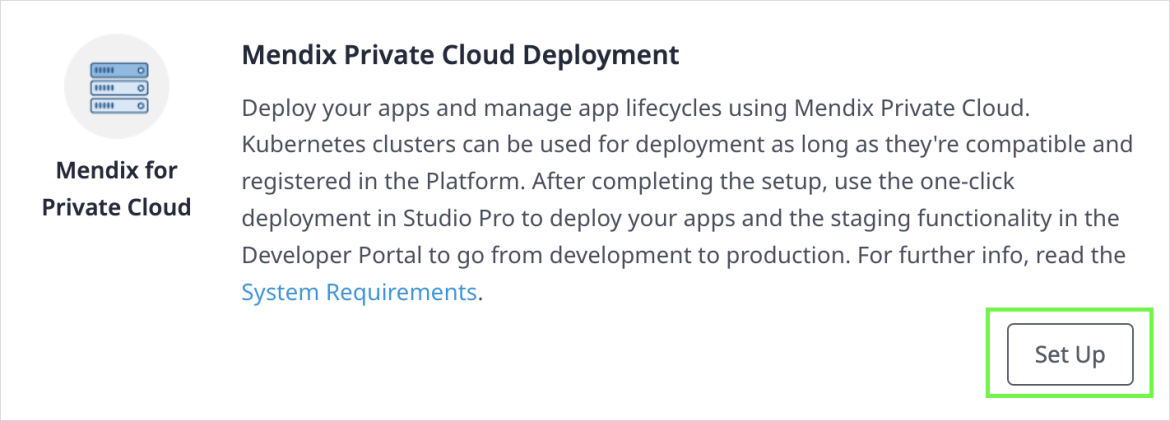
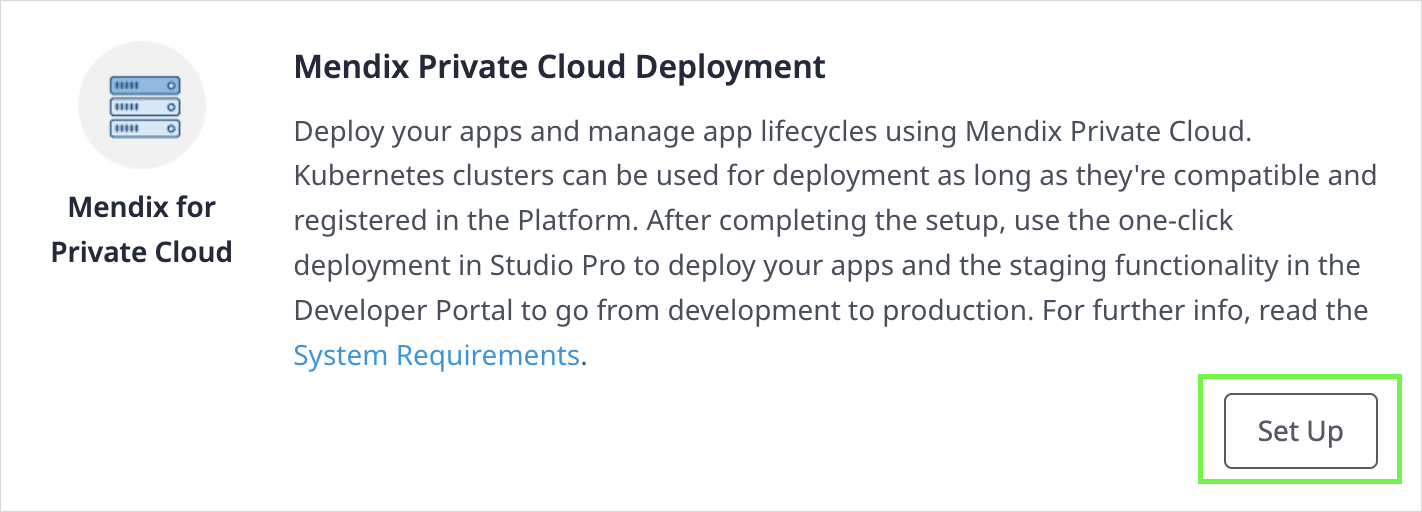
- Click Mendix for Private Cloud.
- Click Set up Mendix for Private Cloud.
- Open the Switch to menu and select Cloud.
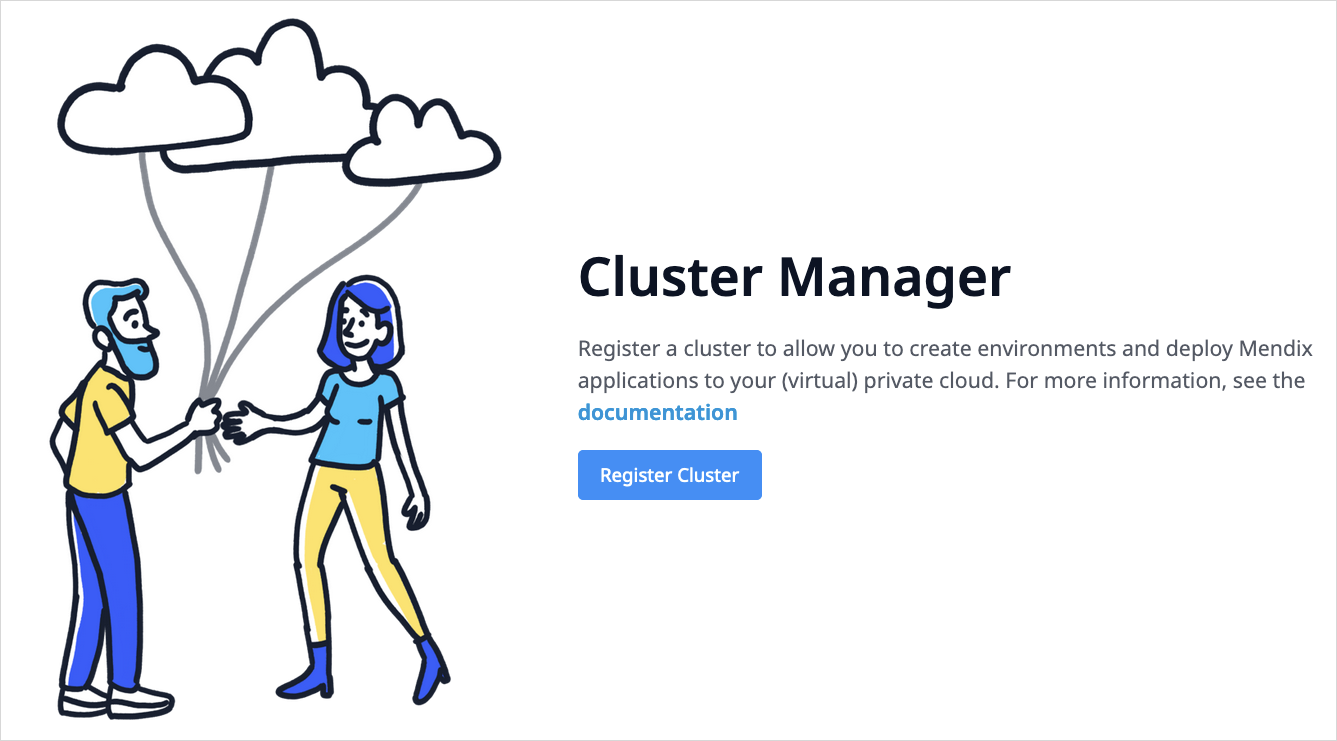
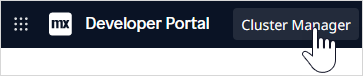
- Select Cluster Manager from the top menu bar in the Developer Portal.

- Click Register Cluster.

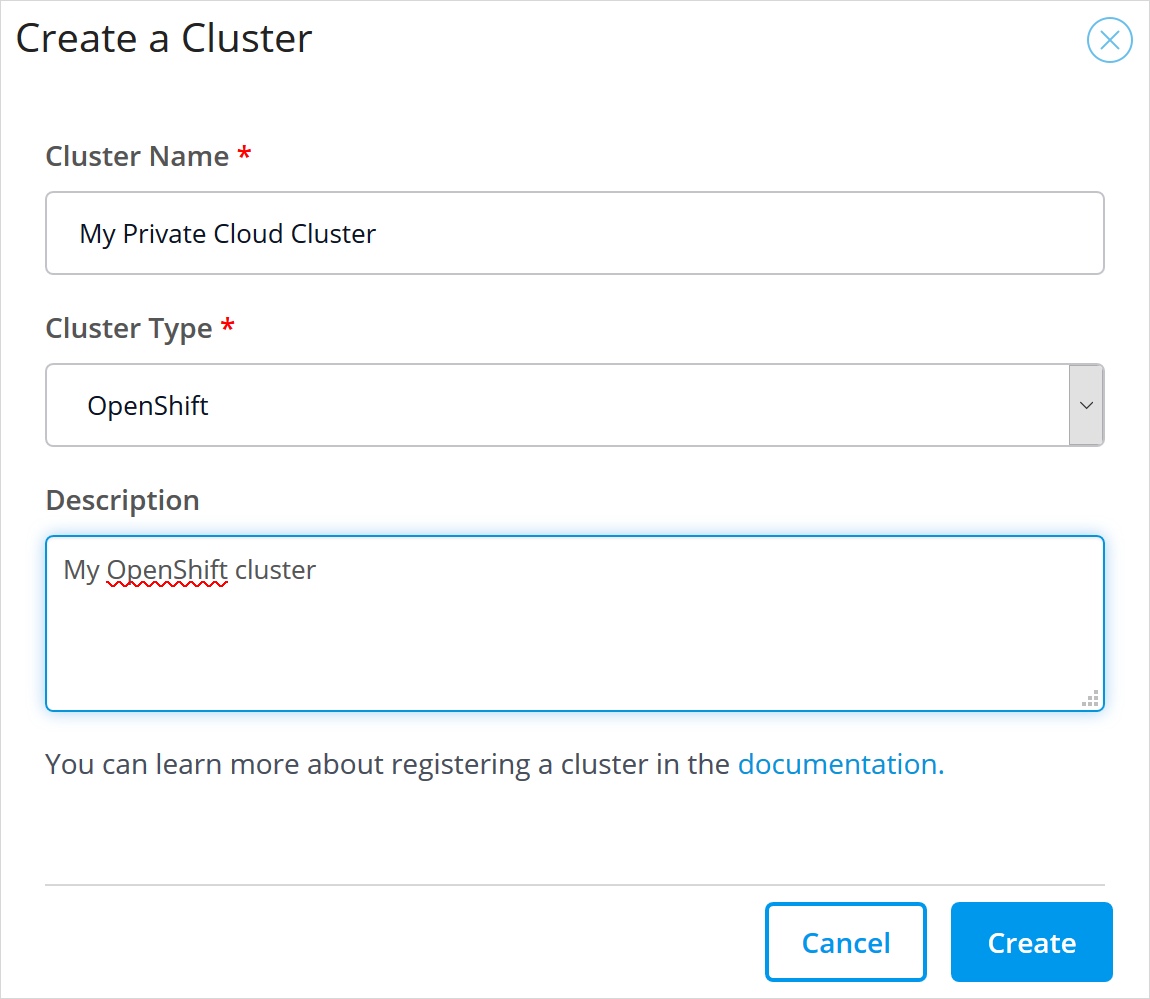
- Enter the following information:
- Name – The name you want to give the cluster you are creating.
- Type – choose the correct type for your cluster. See Supported Providers for more information.
- Description – an optional description of the cluster which will be displayed under the cluster name in the cluster manager.
- Click Create.


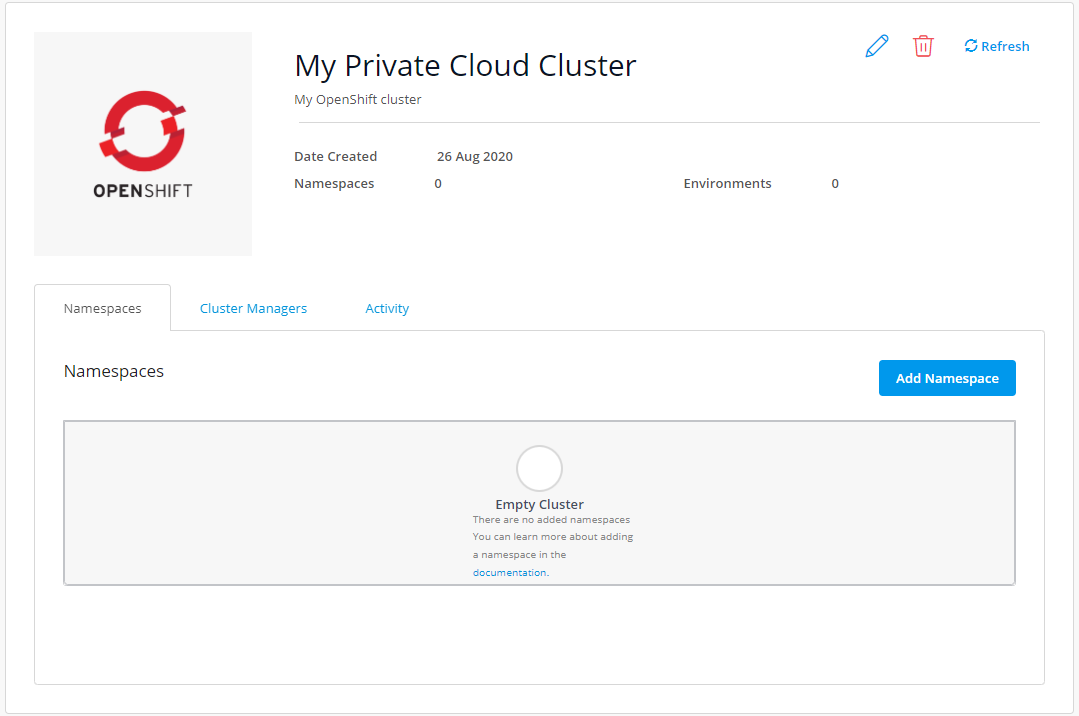
Adding a Namespace
You now need to add a namespace to your cluster. Your cluster can contain several namespaces.
To add a namespace, do the following:
- Click Details:
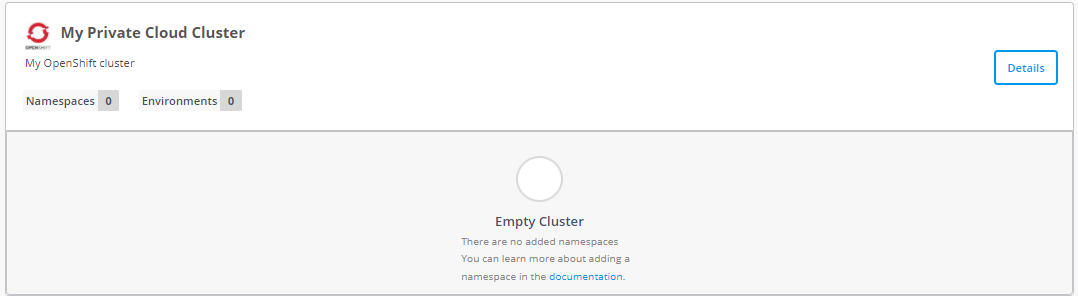
- Click Add Namespace:
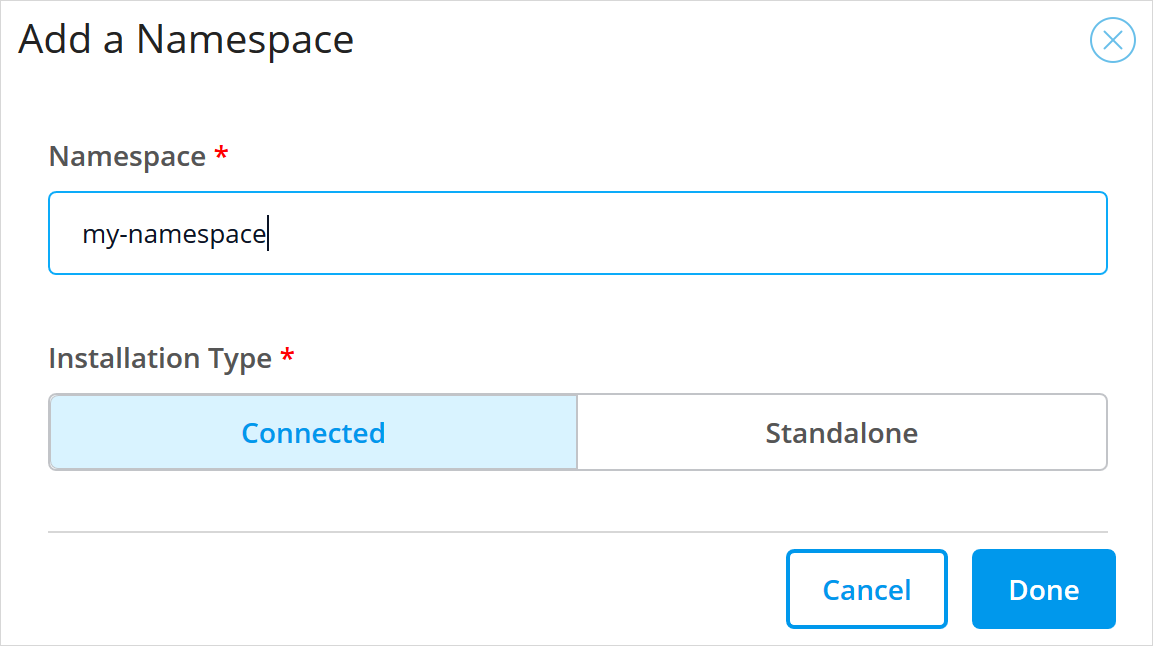
- Enter the following details:
- Namespace – this is the namespace in your platform. This must conform to the namespace naming conventions of the cluster: all lower-case with hyphens allowed within the name
- Installation type – if you want to create environments and deploy your app from the Mendix Developer Portal, choose Connected, but if you only want to control your deployments through the Mendix Operator using the CLI, choose Standalone
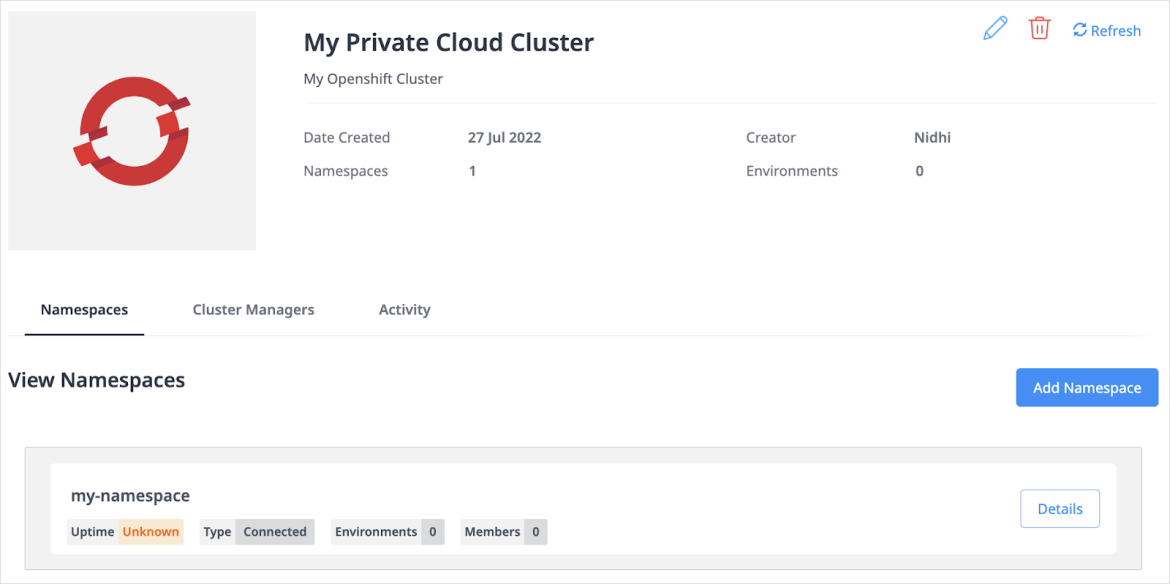
- Click Done to create the namespace.


If you have selected a Connected Installation Type please verify that the Connected Environment Prerequisites are configured.
Installing and Configuring the Mendix Operator
Before you can use the Mendix Operator in your namespace you need to install it and configure the services your app will use. Mendix provides you with a Configuration Tool which guides you through the process.
Download the Configuration Tool
If you are not already on the installation tab for your namespace, go to it by following these instructions:
- Go to the Cluster Manager page by clicking Cluster Manager in the top menu of the Clouds page of the Developer Portal.
- Click Details next to the namespace you want to use.
- Select the Installation tab.


Now you can download the Configuration Tool by doing the following:
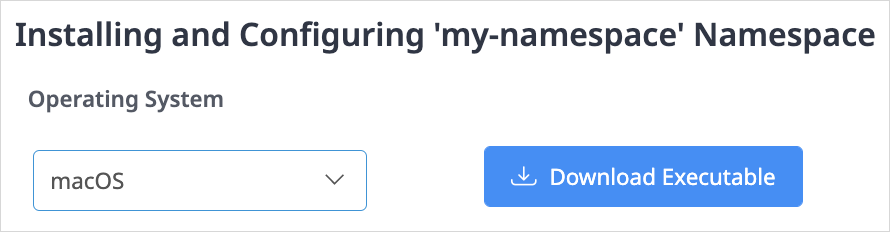
- Choose the Operating System for your local computer.
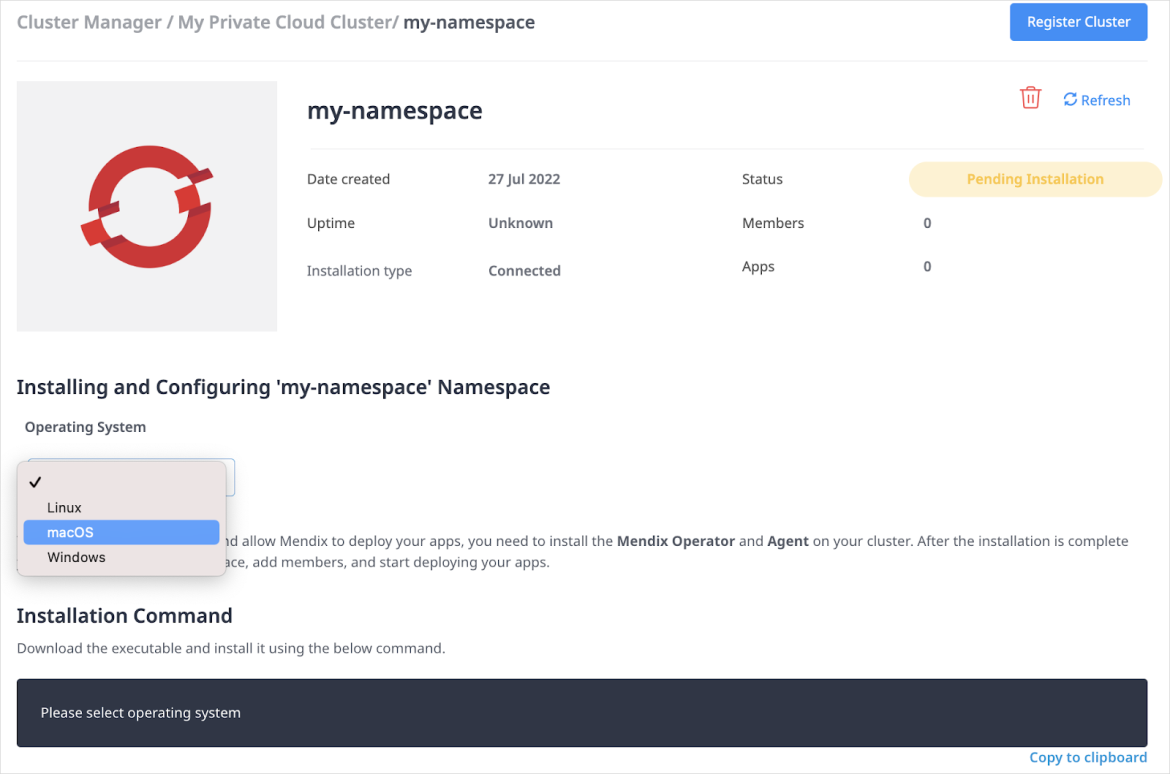
- Click Download Executable.
- Choose the Mendix Operator Version that you would like to install. If you have already installed the Mendix Operator, your currently installed version will be highlighted.
Mendix Operator version 2.. supports Kubernetes versions 1.19 and later. Mendix Operator version 1.12.* supports Kubernetes versions 1.12 through 1.21. Choose the latest version that is supported by your Kubernetes cluster.
Versions earlier than 1.9.0 are only available to allow configuration of previously installed Mendix Operator versions.
Once you’ve installed a certain version of the Mendix Operator into any namespace in the cluster, you should not install older versions of the Mendix Operator into the same cluster, including other namespaces.
The installation and configuration tool only supports a limited range of Mendix Operator versions. If the Mendix Operator version in your namespace is too new or too old, the configuration tool will not be able to configure it. Download a version of the configuration tool that is compatible with the Mendix Operator you have installed. Both the ARM and AMD versions of the mxpc-cli tool are available to download.
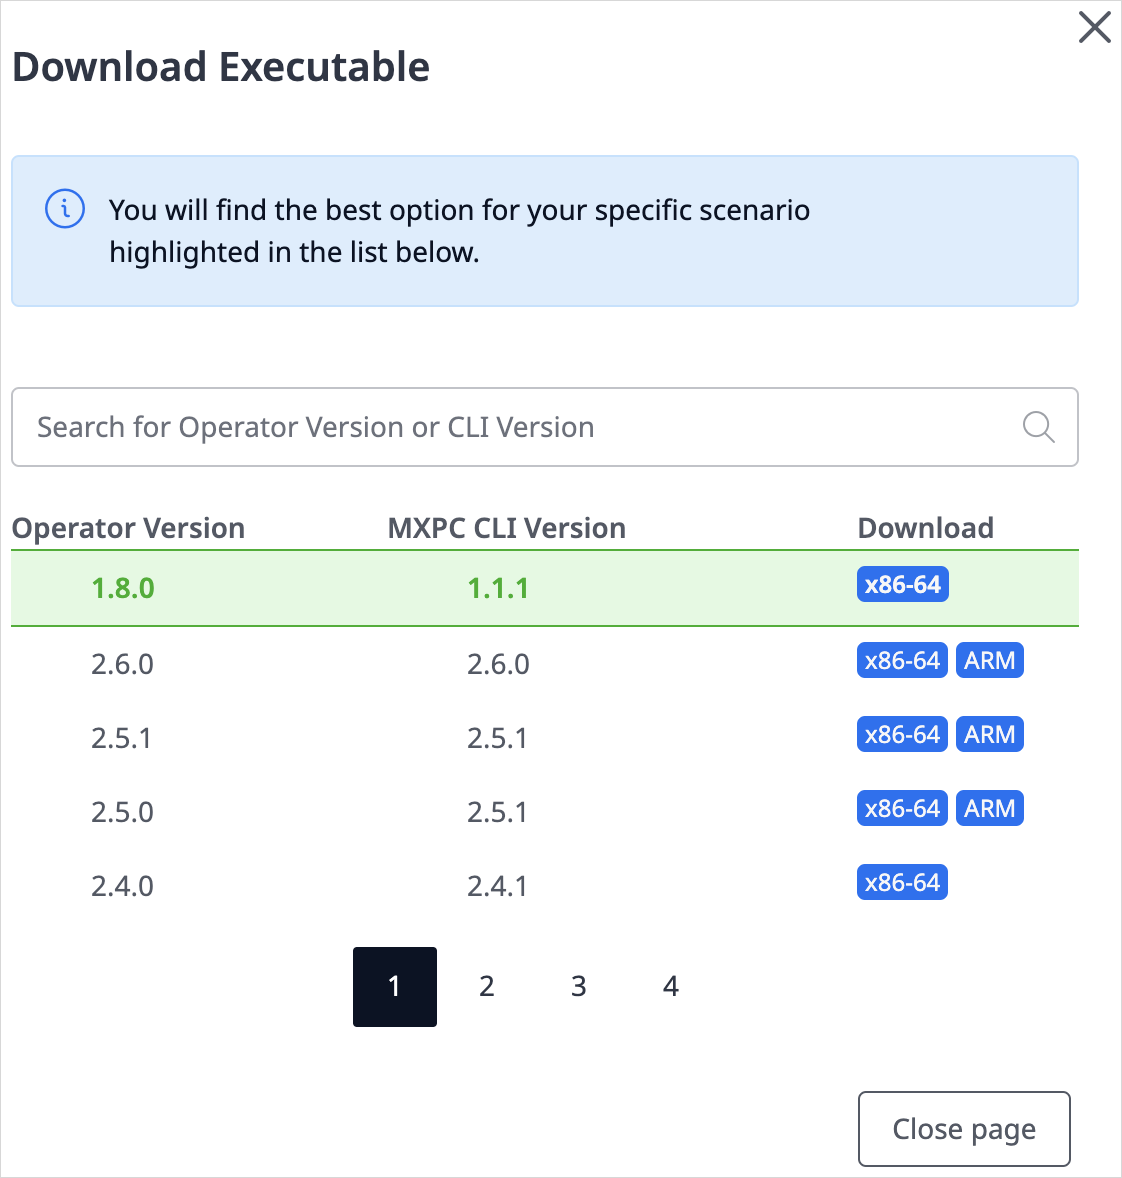
- Click the Download icon to download the installation and configuration tool. Make sure that it is stored somewhere on your path.


Signing in to the Platform
You will need to have administrator rights to your private cloud platform. This means you will have to log in before you run the Configuration Tool.
You can do this by performing the following steps:
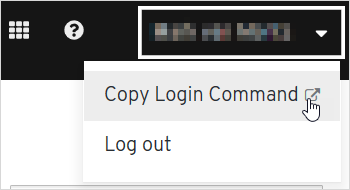
- Sign in to the OpenShift Console.
- Click Copy Login Command in the user drop-down.

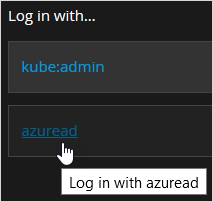
- Choose your IdP (Identity Provider).

- Click Display Token.
- Copy the command under Log in with this token.
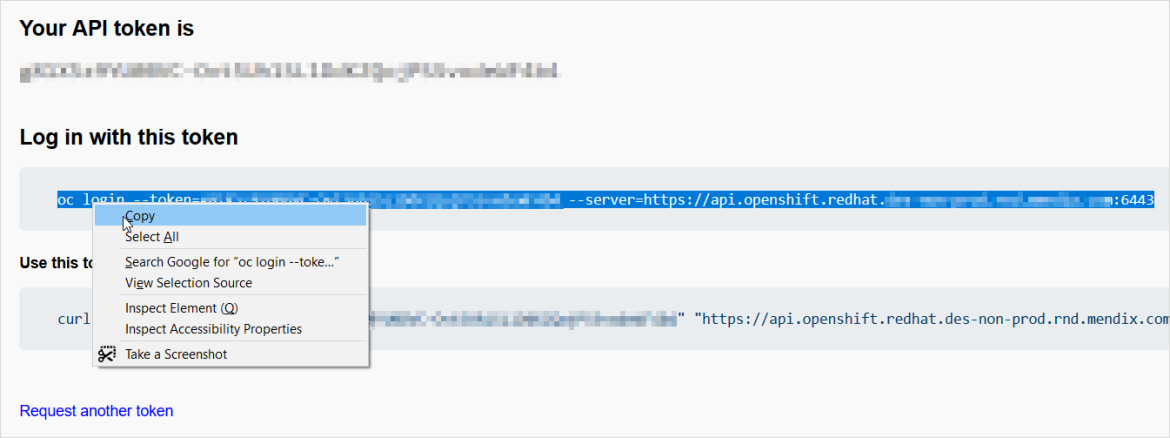
- Paste the command into your command line terminal and press Enter.

Running the Configuration Tool
Once you are signed in to your cluster you can run the Configuration Tool.
To install in non-interactive mode please see: Install and Configure Mendix for Private Cloud Non-interactive Mode
- Copy the Installation Command by clicking Copy to clipboard.

- Paste the command into your command line terminal and press Enter.
The Configuration Tool needs a CLI terminal with mouse support. Read the Terminal limitations section before running the Configuration Tool.
You will see the configuration options on the screen and will be guided through filling in the information needed.


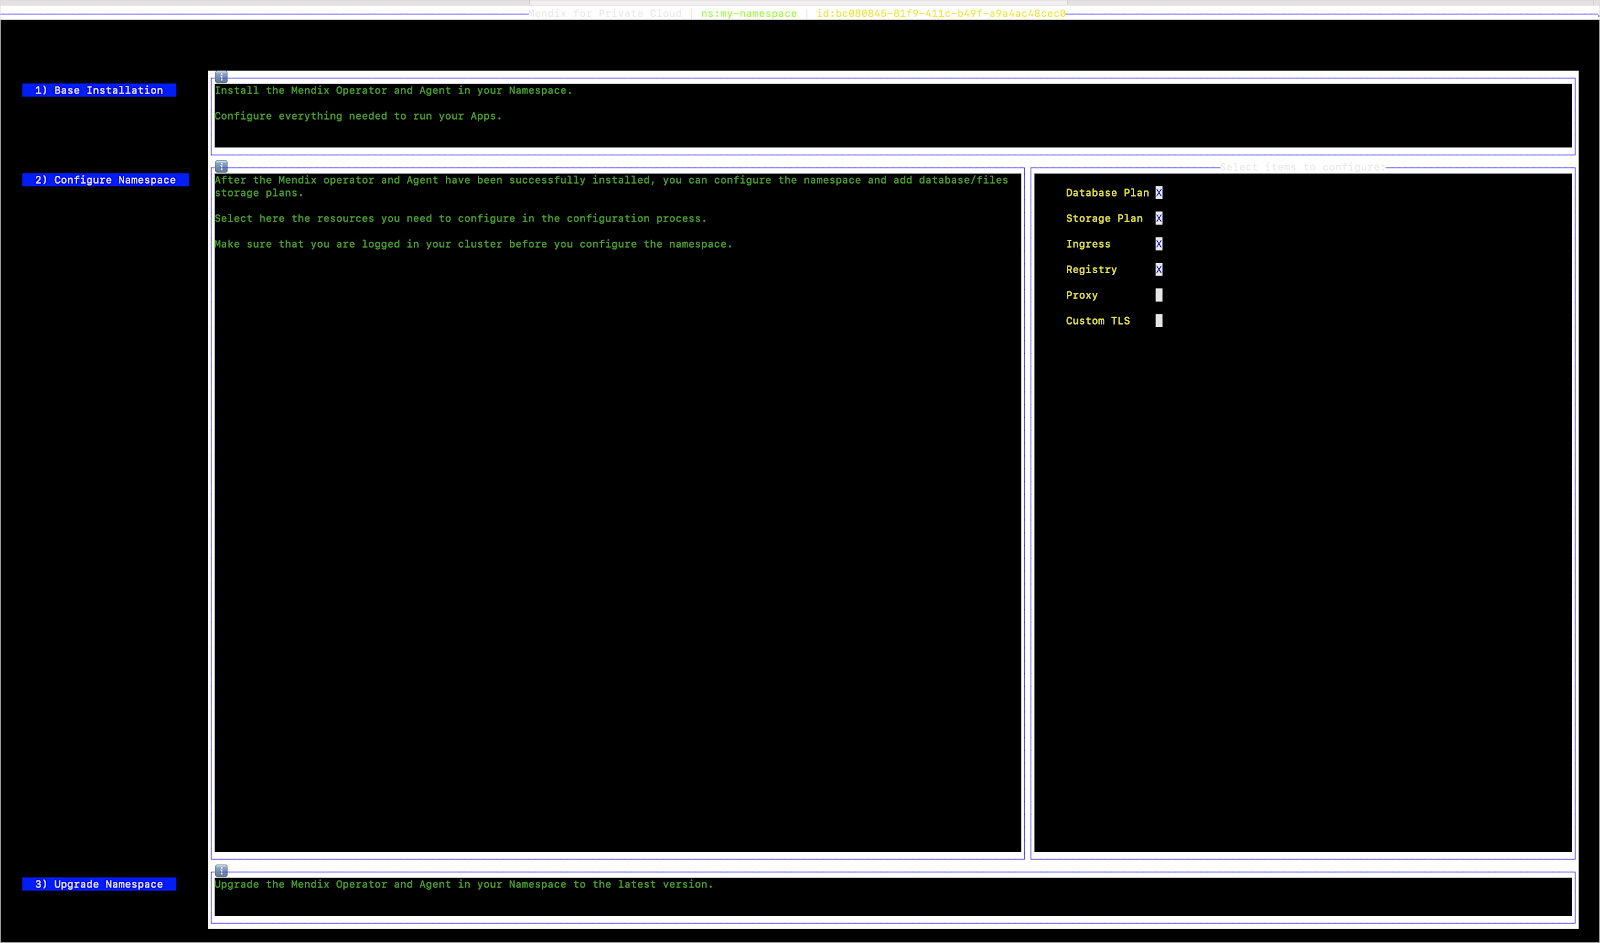
Base Installation
If the Mendix Operator and the Mendix Gateway Agent have not been installed in your cluster, you will need to install them.
- Click Base Installation.
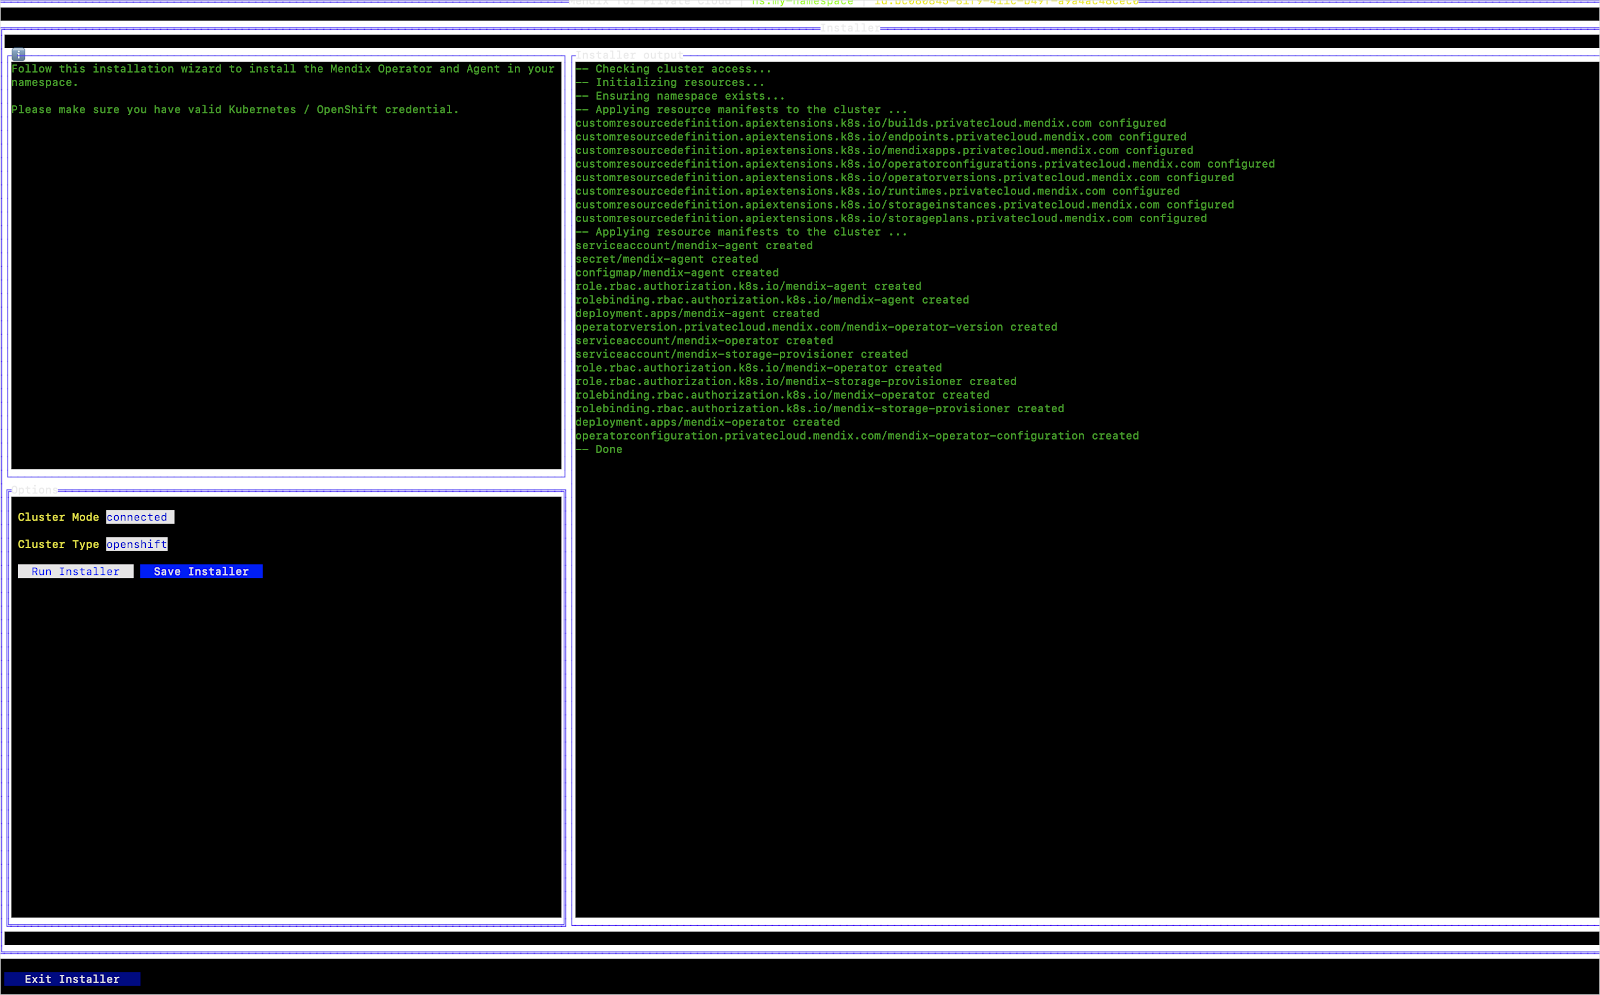
- Select the required Cluster Mode – connected or standalone.
For more information, see Connected and Standalone Clusters in the Private Cloud documentation. - Select the required Cluster Type – openshift or generic.
- Click Run Installer to install the Mendix Operator and Mendix Gateway Agent in your cluster. You will see the screen below.
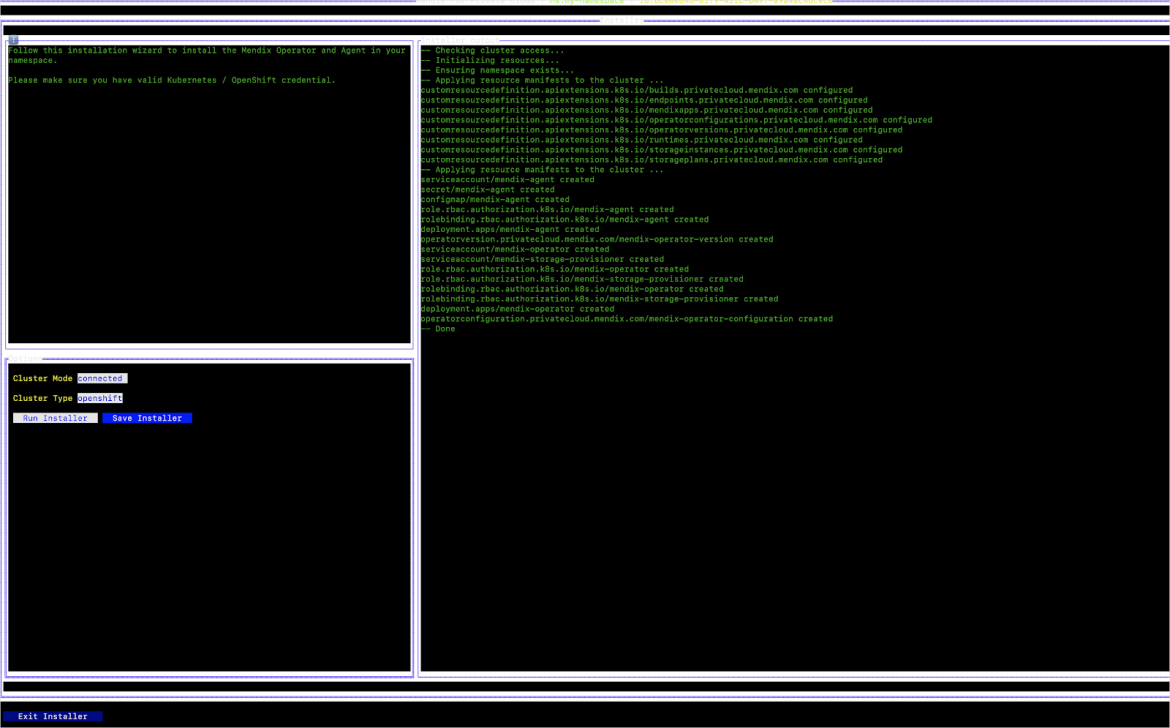
- Click Save Installer if you want to save these settings to be used later.
- Click Exit Installer to finish.
The Mendix operator and Mendix Gateway Agent are now installed on your platform.
If you have selected the Connected Mode which installs the Mendix Gateway Agent component, please take note of the following:
- All the Websocket connections (to communicate with the Mendix Platform) are initiated by the Mendix Gateway Agent from the cluster, and said connections do not require any listening ports to be opened in the cluster’s firewall. Only an outbound connection from the cluster to the Portal needs to be set up, by safelisting the URL https://interactor-bridge.private-cloud.api.mendix.com.
- All the Websocket connections are established over HTTPS, and therefore, can be routed through a Proxy server.
Afterword
Mendix For Private Cloud provides Mendix’s ‘LowOps’ one-click deployment experience for your own Kubernetes-based (virtual) private cloud, which enables development teams to manage the application lifecycle while still having control of the application data in a private cloud environment. It is certified on Red Hat Openshift, offering continuous vulnerability scans, collaborative support and is fully containerized. The joint partnership between Red Hat and Mendix reiterates our ongoing commitment to provide customers with a secure, verified and world-class experience in cloud-native architecture and the broader multi-cloud landscape.
Further Resources
저자 소개

채널별 검색

오토메이션
기술, 팀, 인프라를 위한 IT 자동화 최신 동향

인공지능
고객이 어디서나 AI 워크로드를 실행할 수 있도록 지원하는 플랫폼 업데이트

오픈 하이브리드 클라우드
하이브리드 클라우드로 더욱 유연한 미래를 구축하는 방법을 알아보세요

보안
환경과 기술 전반에 걸쳐 리스크를 감소하는 방법에 대한 최신 정보

엣지 컴퓨팅
엣지에서의 운영을 단순화하는 플랫폼 업데이트

인프라
세계적으로 인정받은 기업용 Linux 플랫폼에 대한 최신 정보

애플리케이션
복잡한 애플리케이션에 대한 솔루션 더 보기

오리지널 쇼
엔터프라이즈 기술 분야의 제작자와 리더가 전하는 흥미로운 스토리
제품
- Red Hat Enterprise Linux
- Red Hat OpenShift Enterprise
- Red Hat Ansible Automation Platform
- 클라우드 서비스
- 모든 제품 보기
툴
체험, 구매 & 영업
커뮤니케이션
Red Hat 소개
Red Hat은 Linux, 클라우드, 컨테이너, 쿠버네티스 등을 포함한 글로벌 엔터프라이즈 오픈소스 솔루션 공급업체입니다. Red Hat은 코어 데이터센터에서 네트워크 엣지에 이르기까지 다양한 플랫폼과 환경에서 기업의 업무 편의성을 높여 주는 강화된 기능의 솔루션을 제공합니다.